


another x200 and some posters
21/5/2020
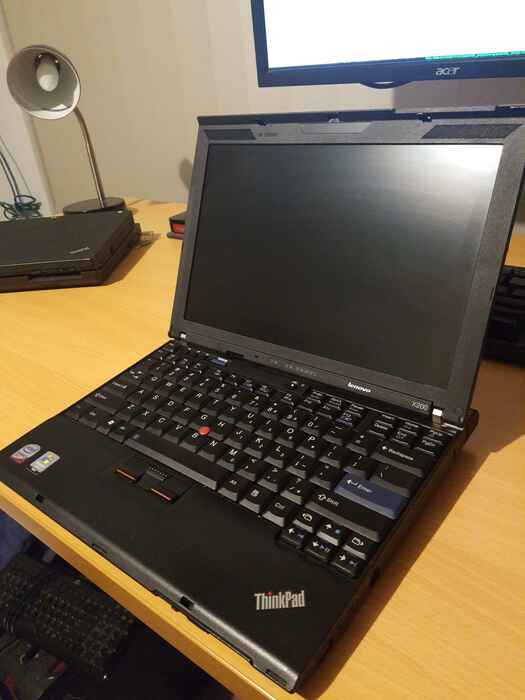
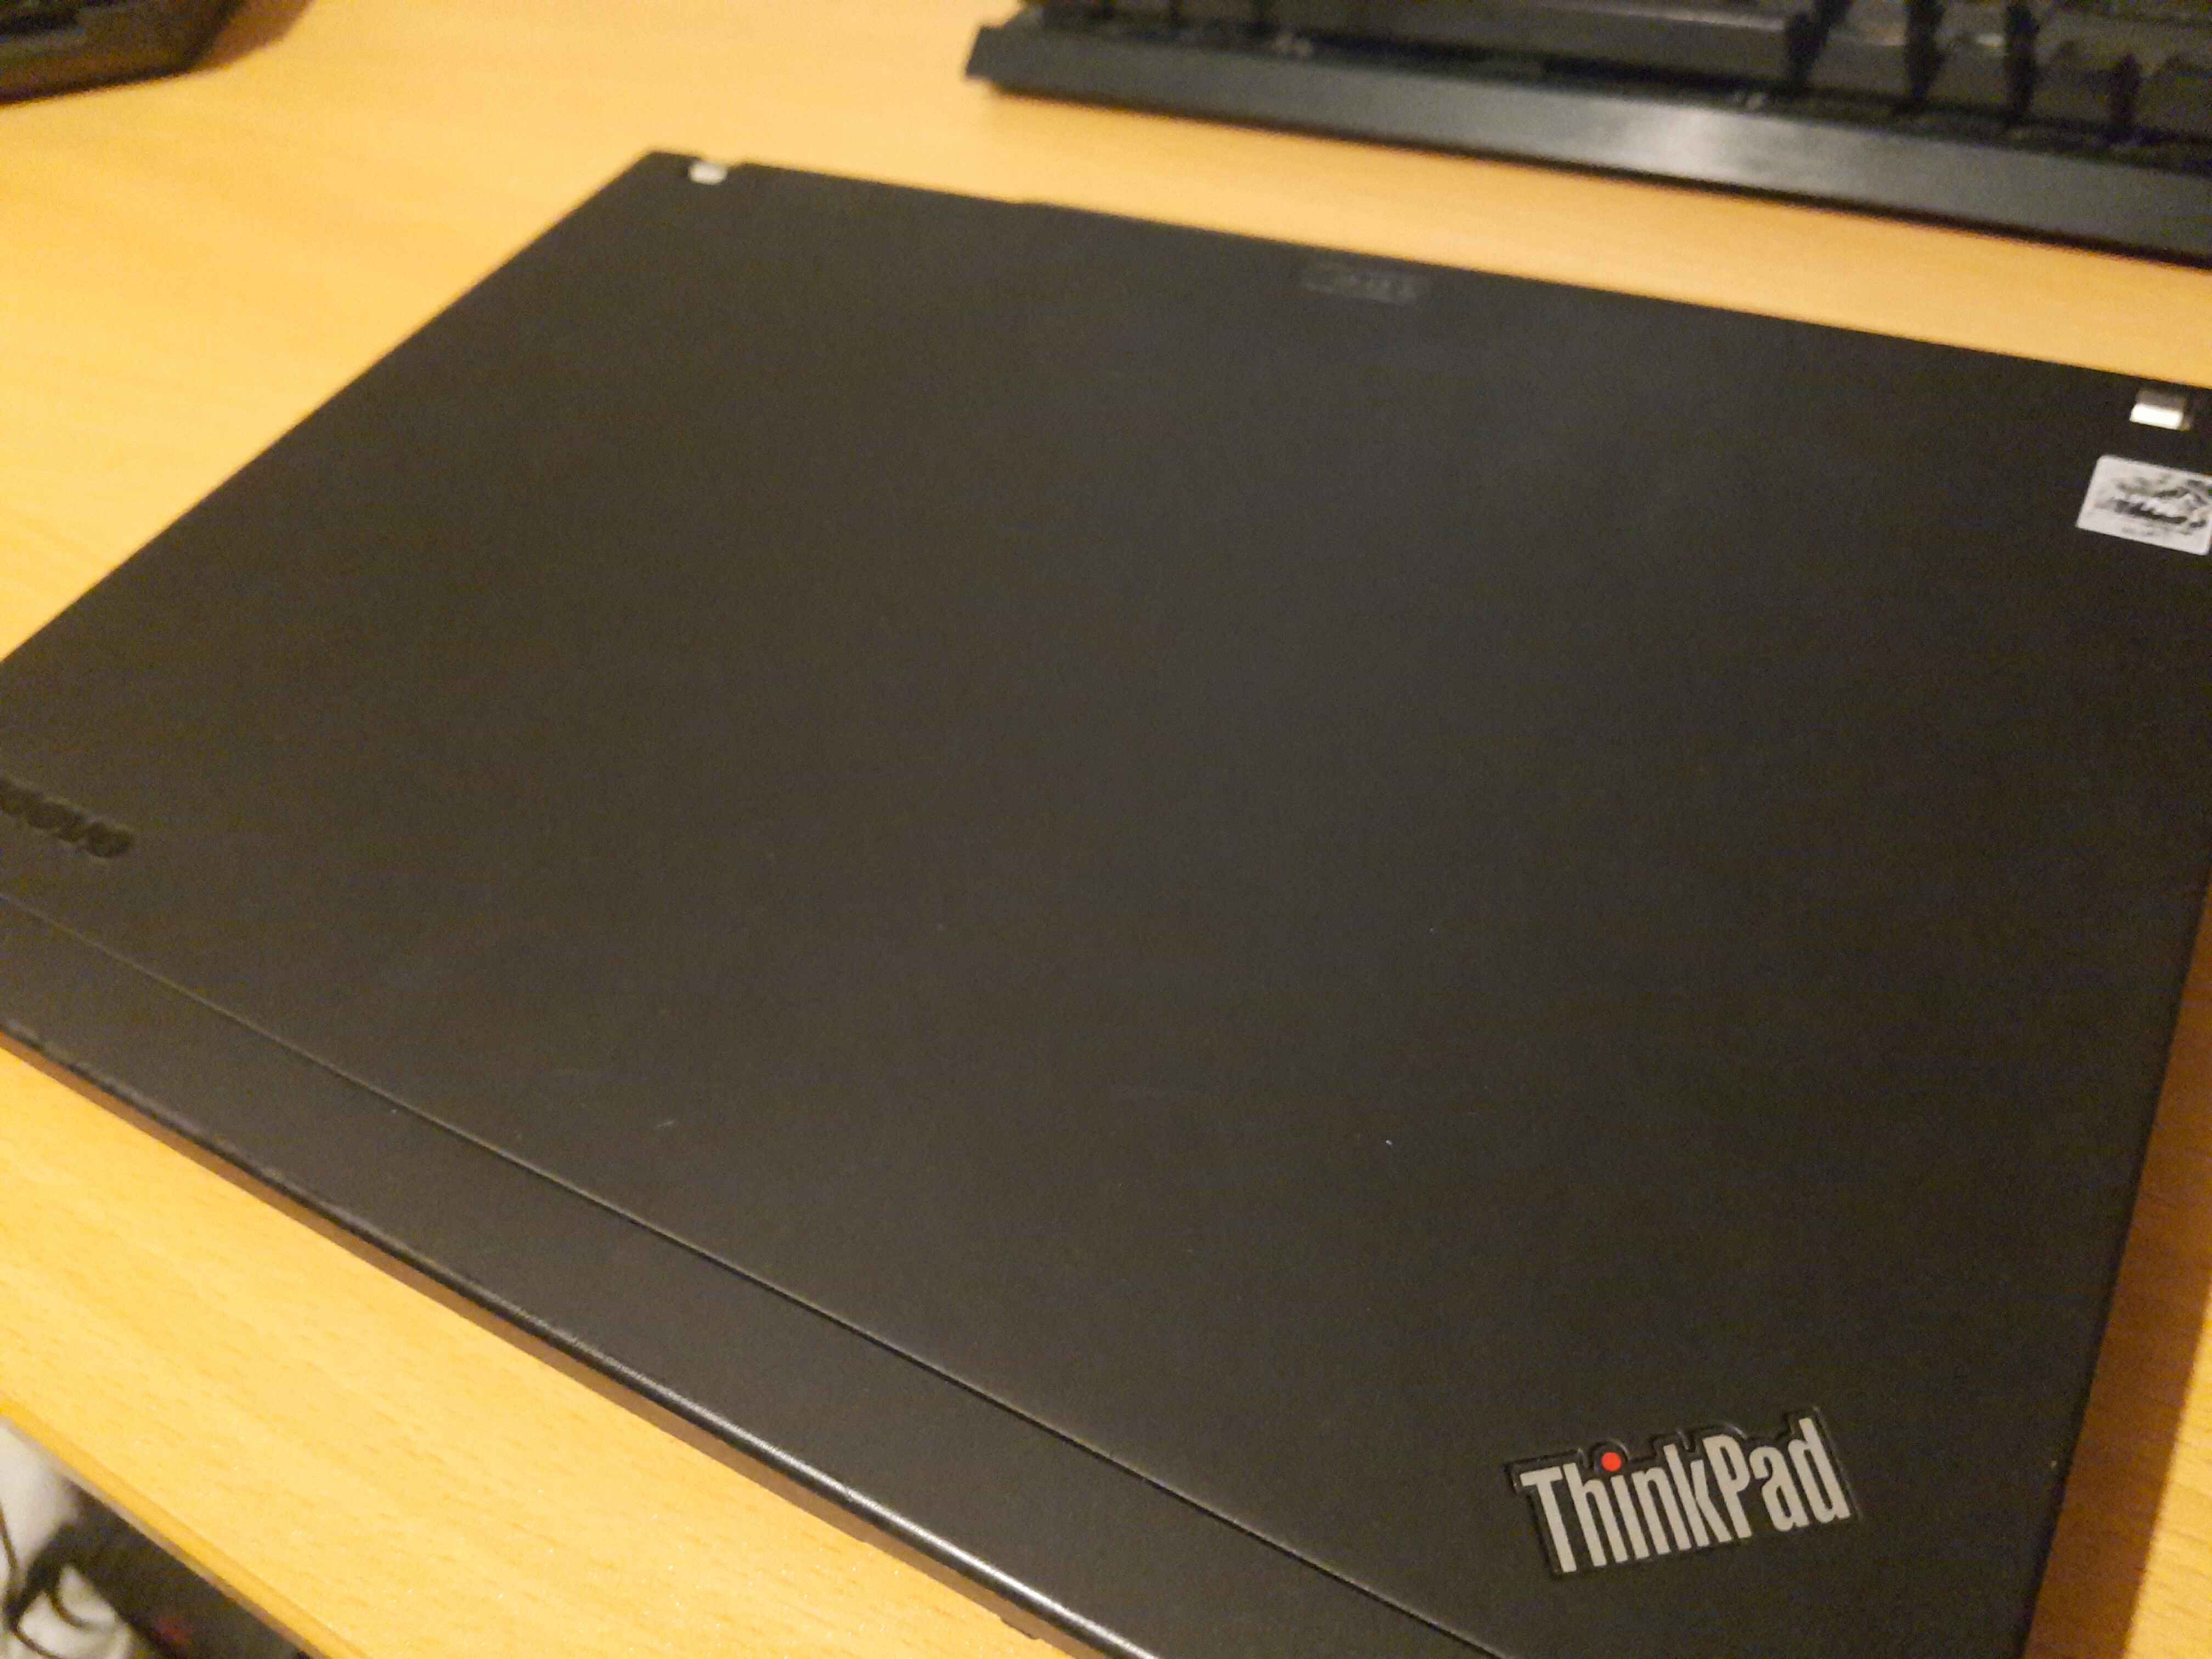
I found a cheap ($80 aud) x200 on ebay so I bought it. This brings my x200 count to 3, including one tablet. I'm thinking I might keep it as a backup if I need it one day. I might libreboot it at some point between now and then.
It's condition is excellent - very little scratches on the lid, no scratches on the screen, keyboard has very light wear, it seems like the original part, but I'm not sure yet. Part numbers on it are correct though.
It came with a 9 cell battery, after 2.5 hours the charge went from 90% to 48% before I turned it off. This was in idle - much better than my current main x200, so I will definitely take the battery right away.
I also purchased some new posters - I mainly wanted the k-on and clannad ones, but I liked madoka and kokoro connect was alright till the end. Never seen strikers but it was only a few extra dollars. There is another strikers one that I haven't put up yet.


demo recording and playback
27/4/2020
I decided to try adding demo recording/playback to the silly minesweeper game.
The demo is played back in realtime, meaning it will playback at the same speed as you.
You can record a demo using: ./ncsweeper -record demofille.dem
You can play a demo using: ./ncsweeper -play demofille.dem
This isn't portable, different compilers, endianness and cpu word size will produce incompatible demo files. I know these problems exist but I chose to not tackle them this time around.
The first structure written to file is a header that stores game field data, defined as:
struct demo_header
{
	int width;
	int height;
	int mine_count;
};
Next, a total of header.mine_count mines are written to file simply defined as:
struct demo_mine
{
	int x;
	int y;
};
Next written to file is the number of actions performed. These actions are then written to file in a structure defined as:
enum DEMO_ACTION_TYPE
{
	NONE = 0,
	GOUP,
	GODOWN,
	GOLEFT,
	GORIGHT,
	FLAG,
	REVEAL,
	QUIT,
};

struct demo_action
{
	double action_pre_delay;
	enum DEMO_ACTION_TYPE type;
	int start_x;
	int start_y;
};
This structure holds the starting position of the cursor for the action, the type of action (see the enum) and the time it took for the player to perform the action. These actions are recorded and loaded from file into a list which the game uses to play the demo back.Here is a demo of my best time on a 50x50 playfield.
You can find the source code in my git repo.


simple grid-based and ncurses minesweeper
8/4/2020
I've been interested in minesweeper lately so I wrote a simple grid version in C as well as one using ncurses.
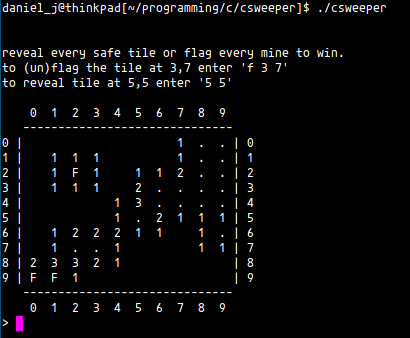
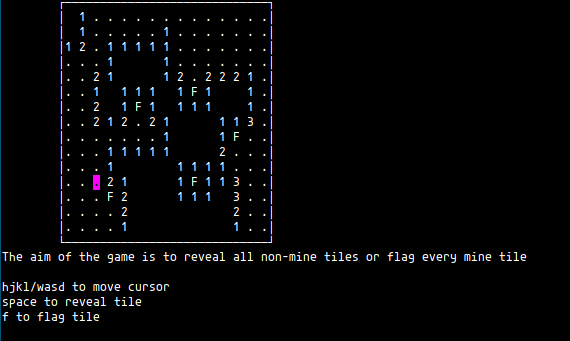
You can find the source code in my git repo.


Cropped Yuu's face too
23/3/2020
Similar to Chito previously, I cropped out every Yuu face from Bloom Into You totalling 2325 images.
You can find them at https://gnupluslinux.com/yuu/ and download a zip containing every image sorted by chapter and ordered here.
Who cares for the details but, I used xbindkeys to create a shortcut that launches a script. This script uses scrot to take a cropped screenshot into a directory.
During the cropping of all faces I used feh to view images in order using `ls -1 -rt | xargs feh`. This will list the directory, show only file names, reverse the order and order them by modification time.
The file name is randomised, so to order them I needed to use the files modification time. To do this I used a simple bash script: `n=0; ls -tr | while read i; do n=$((n+1)); mv -- "$i" "$(printf %03d "$n").png"; done`. This renames every image in order (001.png, 002.png ...). I took care to use the `preserve` flag in cp (copy) to preserve the modification date when copying around.
Next I had to compress the images, to do this I used pngquant `pngquant --quality=65-80 * --ext .png --force`.
To prevent having to run the script manually in each chapter directory one at a time I ran them in a loop `for d in chapter*; do ( cd "$d" && ../../script.sh ); done`.
After compression the total file size for all images went from 138MB to 52MB.
Then I had to somehow turn these images files into html files. To do this I wrote a simple Python script that iterates through every chapter and image and generates the pages and navigation bars.

The python script:
#!/usr/bin/python

import glob

outputdir = "out/"                                  # directory to output html
templatefile = "template.txt"                       # template file
imgglob = "*.png"                                   # glob for image files
nochapters = 45;                                    # number of chapters to include
localimgloc = "../"                                 # location of images on filesystem (../chapterx)
dirprefix = "chapter";                              # prefix for chapter directories
imgloc = "https://gnupluslinux.com/anime/yuu/";     # location of images
                                                    # final will be imgloc+dirprefix+chapternumber
                                                    # (https://gnupluslibux.com/anime/yuu/chapterx/001.png)

def getimgno(chapter):
    '''
    get number of images in chapter
    '''
    return  len(glob.glob1("%s/%s%s" % (localimgloc, dirprefix, str(chapter)), imgglob))

def generatenavbar(chapter):
    '''
    generate navigation bar for chapter
    '''
    bar = "Chapter: ";
    for p in range(1, nochapters+1):
        if p == chapter:
            # handle own chapter specially
            bar += "<strong>%s</strong> " % (str(p));
        else:
            bar += "<a href=\"%s%s.html\">%s</a> " % (dirprefix, str(p), str(p));
    return bar;

def generateimages(chapter):
    imgcount = getimgno(chapter);
    images = "";
    print(str(imgcount));
    for p in range(1, imgcount+1):
        images += "<a href=\"%s/%s%s/%03d.png\"> <img src=\"%s/%s%s/%03d.png\" alt=\"Yuu face #%s\"></a>\n" \
        % (imgloc, dirprefix, str(chapter), p, imgloc, dirprefix, str(chapter), p, p);
    #print(images);
    return images;

def generatepages():
    '''
    call all functions and generate/output final html
    '''
    for p in range(1, nochapters+1):
        navbar = generatenavbar(p);
        # read template into memory
        templatedata = "";
        with open (templatefile, 'r') as template:
            templatedata = template.read();
        #insert title
        templatedata = templatedata.replace("{TITLE}", "Yuu's face in chapter %s" % p);
        # insert navbar
        templatedata = templatedata.replace("{NAVBAR}", navbar);
        #insert images
        images = generateimages(p);
        templatedata = templatedata.replace("{IMAGES}", images);
        # write to output file
        with open("%s/%s%s.html" % (outputdir, dirprefix, p), 'w') as out:
            out.write(templatedata);

def main():
    generatepages();

if __name__ == "__main__":
    main();


router and too much free time
26/2/2020
Recently I purchased a netgear wndr3800 router which now runs librecmc. Now my main system (x200 with libre(core)boot) and router run more free software.
I also spent a day taking a screenshot of every Chito face (1505 of them) from the manga Girl's Last Tour because she's really cute. I have them online in a collage like thing at https://gnupluslinux.com/chito/. You can download all 1505 images here.


Simple stack
4/2/2020
I'm exploring data structures and I find I learn best when I put something out, so first with a stack. This is my simple implementation using an array. A linked list would be better but that's more verbose.
/*
 * stack using array
 */
#include <stdio.h>
#include <stdlib.h>

struct stack
{
	ssize_t size;
	ssize_t top;
	int *array;
};

struct stack
*createstack(size_t size)
{
	struct stack *stack = malloc(sizeof(struct stack));
	stack->size = size;
	stack->top = -1;
	stack->array = malloc(sizeof(int) * stack->size);
	return stack;
}

void
destroystack(struct stack *stack)
{
	free(stack->array);
	free(stack);
}

int
isempty(struct stack *stack)
{
	return (stack->top == -1);
}

void
pushstack(struct stack *stack, int val)
{
	if (stack->top+1 > stack->size)
	{
		fprintf(stderr, "stack is full, can't push\n");
		return;
	}
	stack->top++;
	stack->array[stack->top] = val;
}

int
popstack(struct stack *stack)
{
	if (isempty(stack))
	{
		fprintf(stderr, "stack is empty, can't pop\n");
		/* in the real world we would not be holding ints so -1 will do */
		return -1;
	}
	int popped = stack->array[stack->top];
	stack->top--;
	return popped;
}

int
peekstack(struct stack *stack)
{
	if (isempty(stack))
	{
		fprintf(stderr, "stack is empty, can't peek\n");
		return -1;
	}
	return stack->array[stack->top];
}

void
printstack(struct stack *stack)
{
	if (isempty(stack))
	{
		fprintf(stderr, "stack is empty\n");
	}
	for (ssize_t i = 0; i <= stack->top; i++)
	 {
		printf("[%zd] = %d\n", i, stack->array[i]);
	 }
}

int
main(void)
{
	struct stack *stack = createstack(50);
	printf("isempty: %d\n", isempty(stack));
	pushstack(stack, 5);
	pushstack(stack, 10);
	pushstack(stack, 15);
	printf("peek: %d\n", peekstack(stack));
	printf("isempty: %d\n", isempty(stack));
	printstack(stack);
	puts("popstack()");
	printf("popped: %d\n", popstack(stack));
	printstack(stack);
	printf("popped: %d\n", popstack(stack));
	printstack(stack);
	printf("popped: %d\n", popstack(stack));
	printstack(stack);
	destroystack(stack);
	return 0;
}


Librebooted my x200
21/1/2020
Today I finally librebooted my thinkpad x200. This wont be a full tutorial because a million people have done that, instead it will be a collection of things I had to figure out and whatnot.
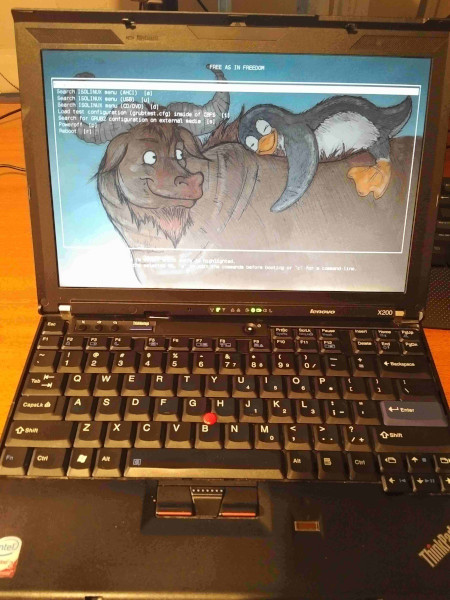
tl;dr: I followed this tutorial and it worked fine. Though there was an error in the pinout diagram they provide, my corrected version: (click to see larger picture)
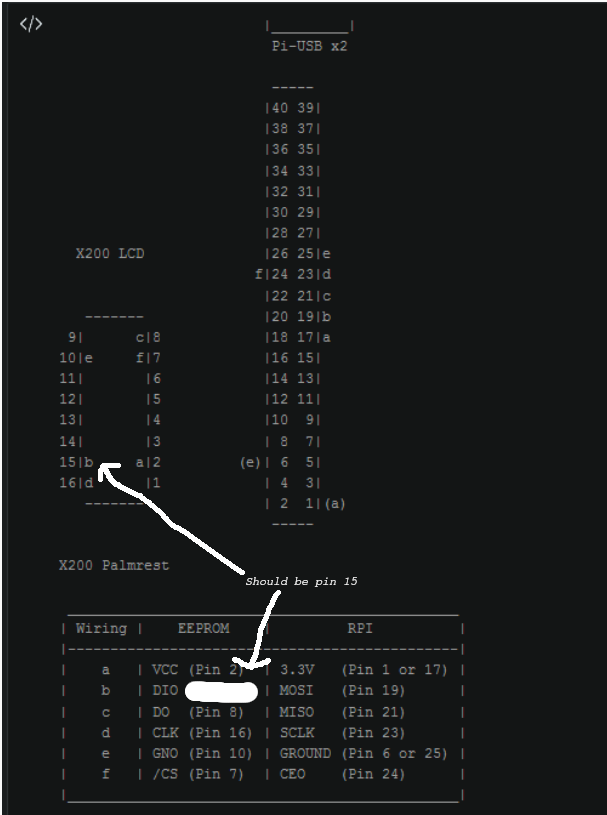
First let me say the libreboot install docs were hard for me to follow logically with how it is laid out and the research you are expected to do first.
- I had no clue if my RAM would work, I have 4GB of DDR3 SODIMM PC3-8500 RAM in 2Rx8 density. Many people have said the requirements on RAM are very specific and few combinations actually work. I think that's mostly bullshit, as long as the previously mentioned is correct, I believe you're probably fine.
- The RTC battery, remove it or not? The libreboot docs do not mention removing it, however many tutorials online say you need to. I asked in #libreboot on freenode and they said yes, remove it.
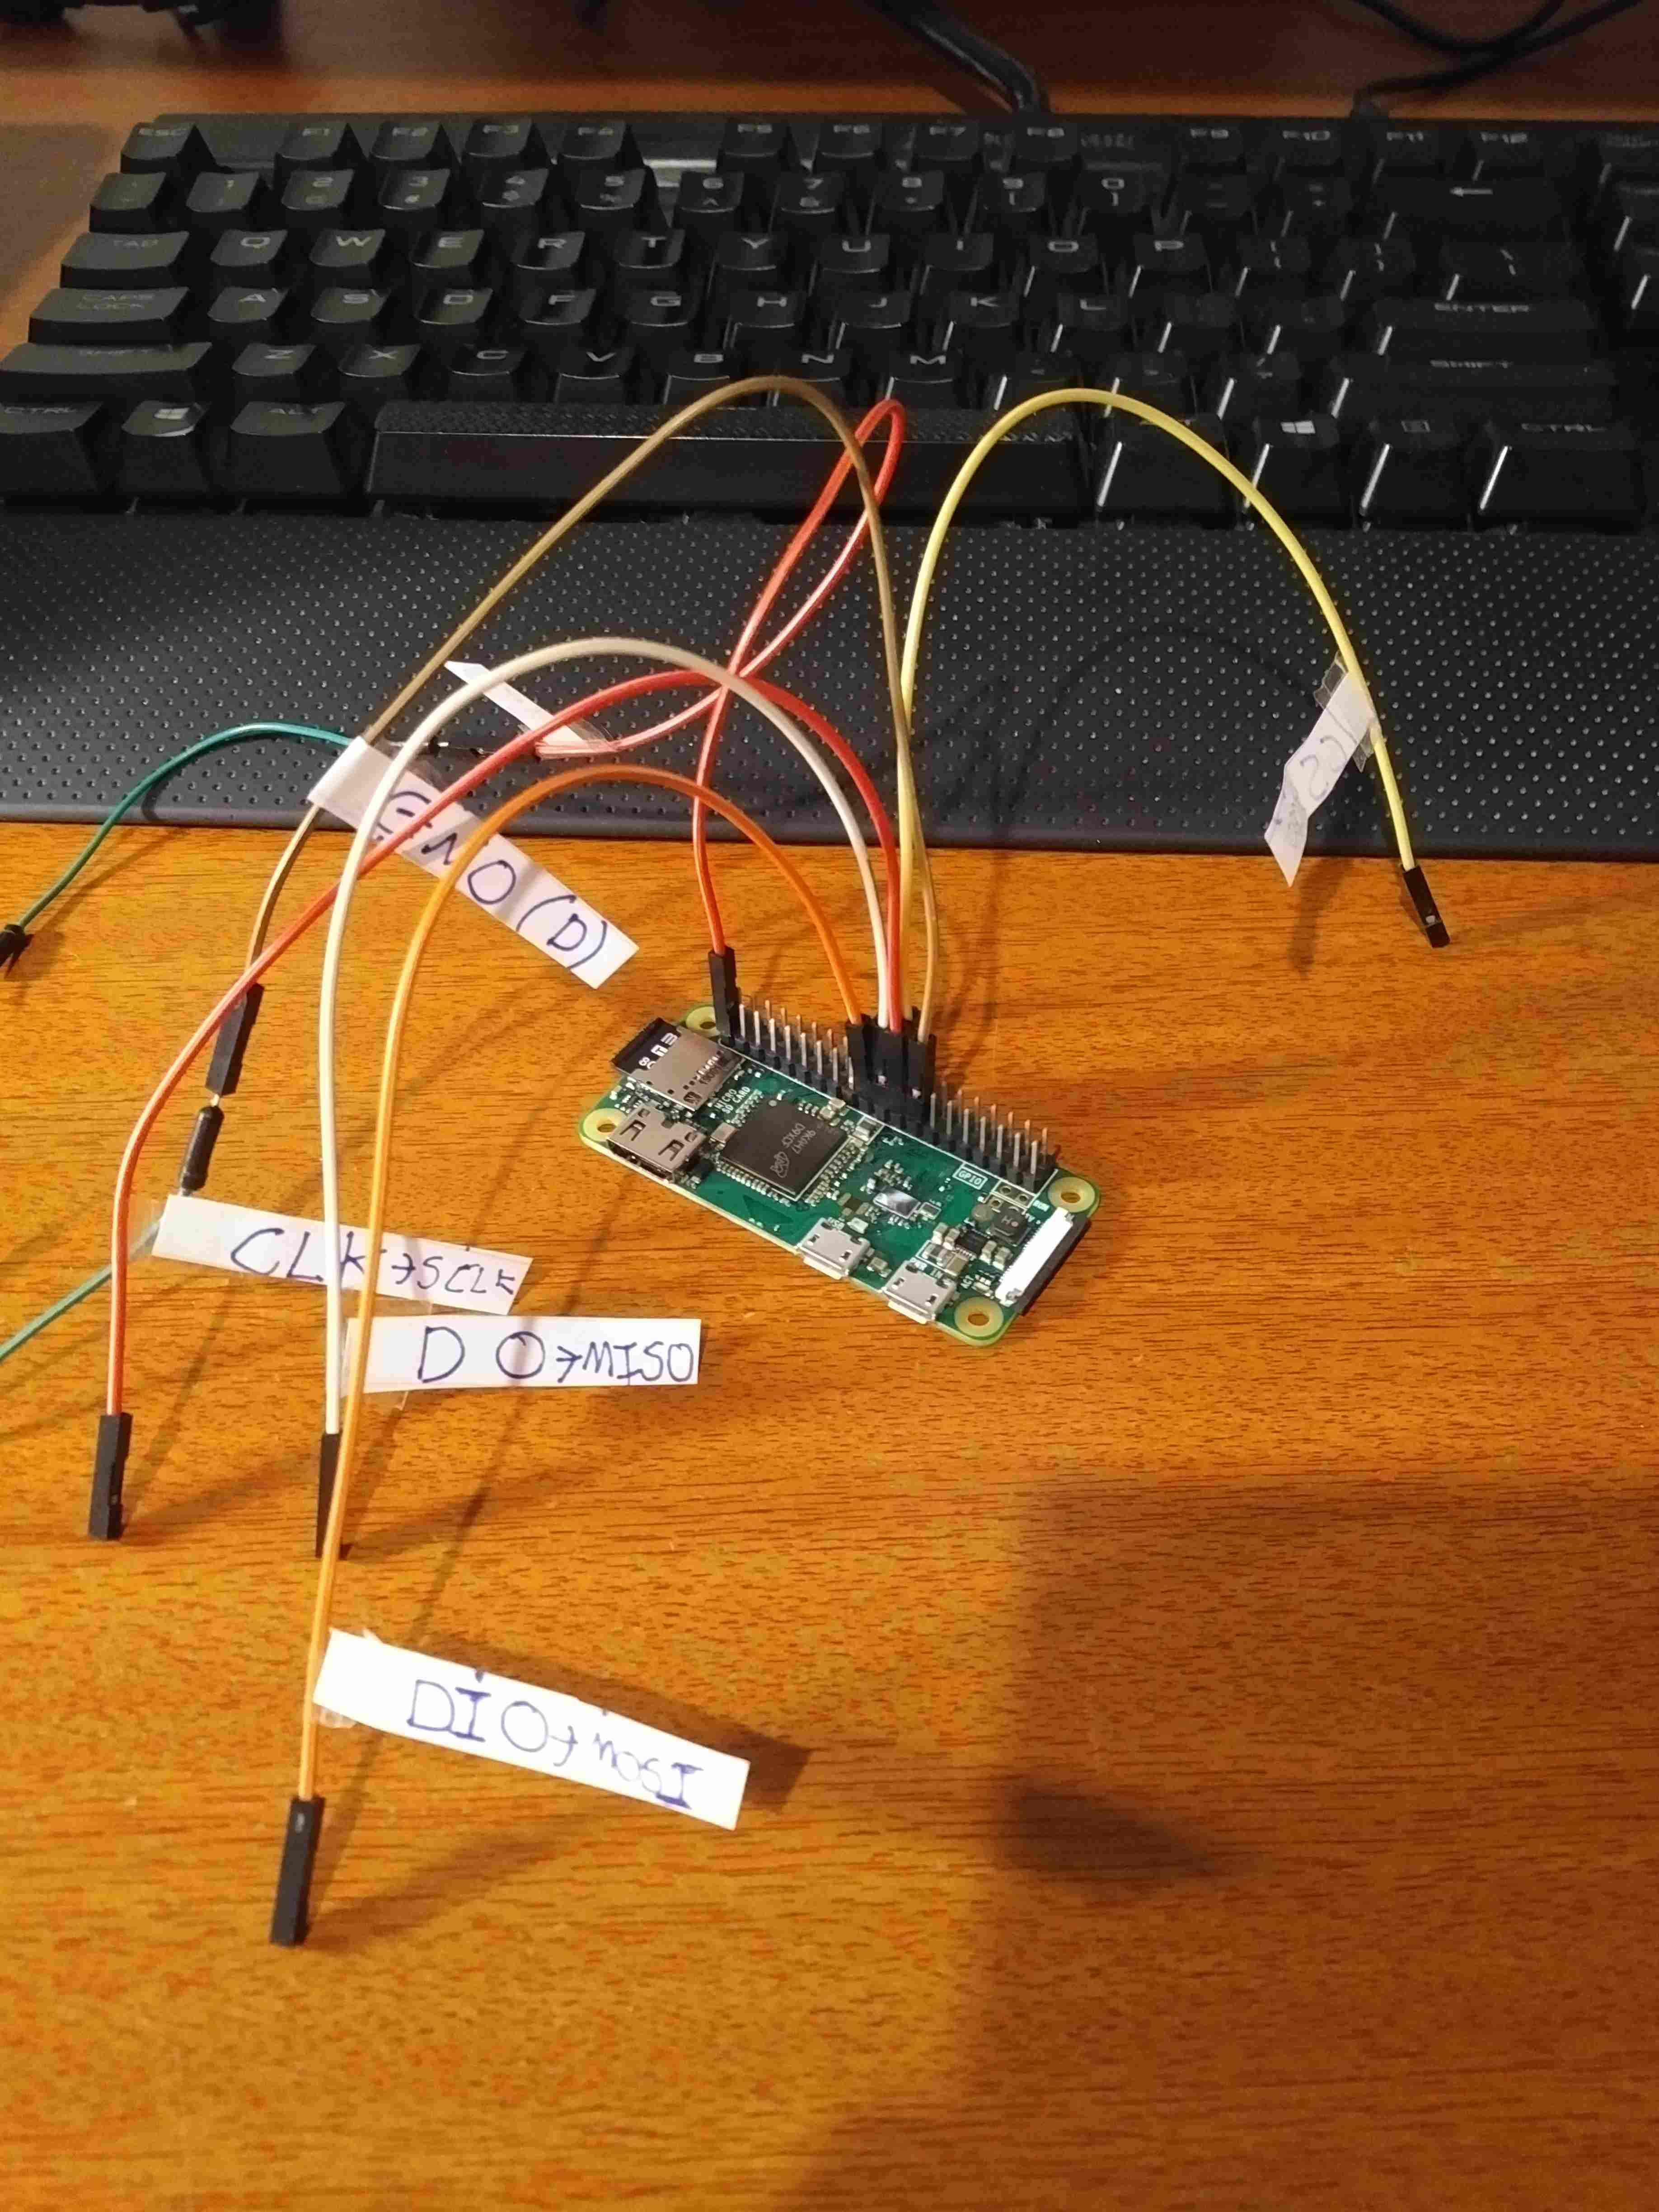
- What programmer do you use? "Well, that's on you, figure it out" is how the docs seem to put it. They seem to suggest a Beagle Bone Black, however in IRC they are adamant they are NOT recommending it - just use whatever you have. I had 3 Raspberry Pi's, however they all had died for various reasons. Instead I found many people using and recommend the CH341A USB programmer, so I bought one. Terrible idea. The black version is shit. The 3.3v power output is 5v and the IO logic is at 5v. This is DANGEROUS and could destroy your chip, the fact it works for some people is amazing, but I did not risk it, I wrote off the cost and didn't use it (it was about $10 anyway). Next, I had the option of using my stm32 bluepill dev board. However there were no tutorials and I suck at this hardware stuff, instead I just ordered a raspberry pi zero because it was the cheapest pi I could find. Just buy a damn pi.
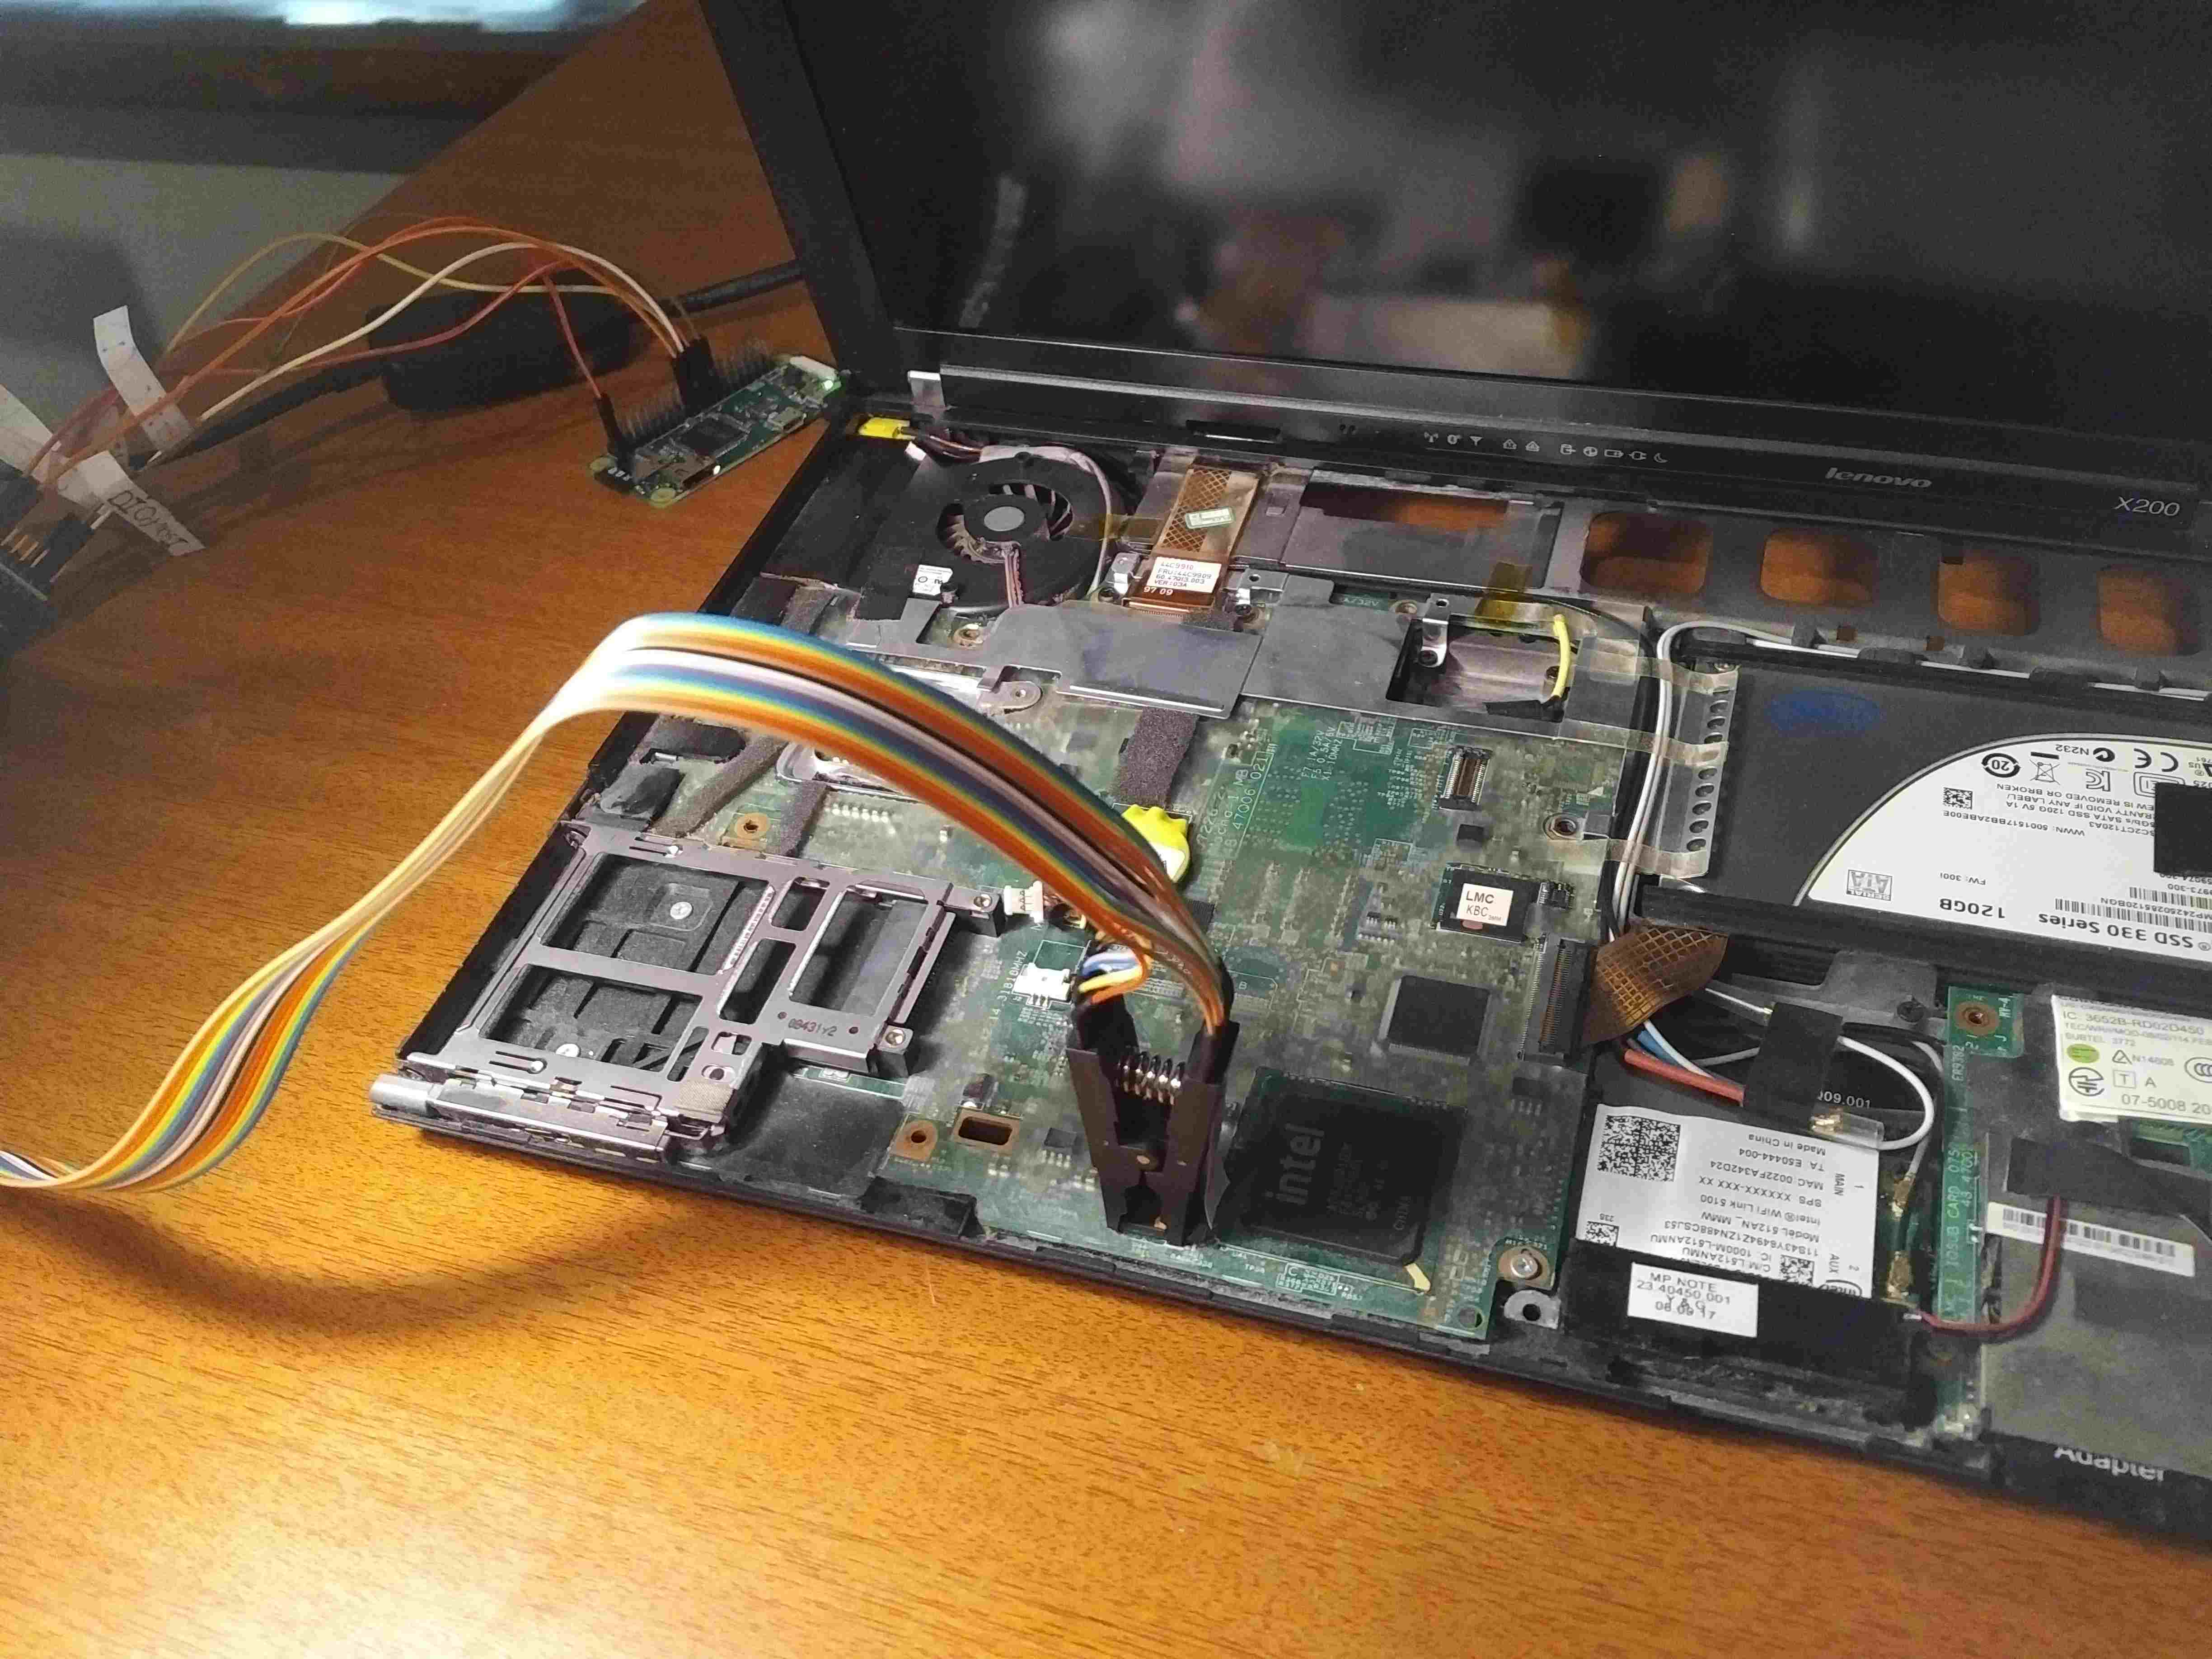
- To determine what kind of SOIC clip you need, you first must dissasemble your laptop. I needed a SOIC16 clip. It is rare for the x200 to have a SOIC8 chip, but you might. So I bought a cheap SOIC16 clip off ebay. Easy right? No, their pins are too close together to put female jumper cables on - I learnt this once the clip arrived. You could easily solder wires onto the clip if you had the skills, which I didn't. After a couple of tries I just bought a clip with wires pre-soldered. Buy a clip with wires pre-soldered.
- Update your BIOS and ECC firmware to the latest version in Windows or the bootable disc image. ECC firmware is important as it brings battery life improvements. coreboot/libreboot does NOT touch the ECC firmware and cannot update it.
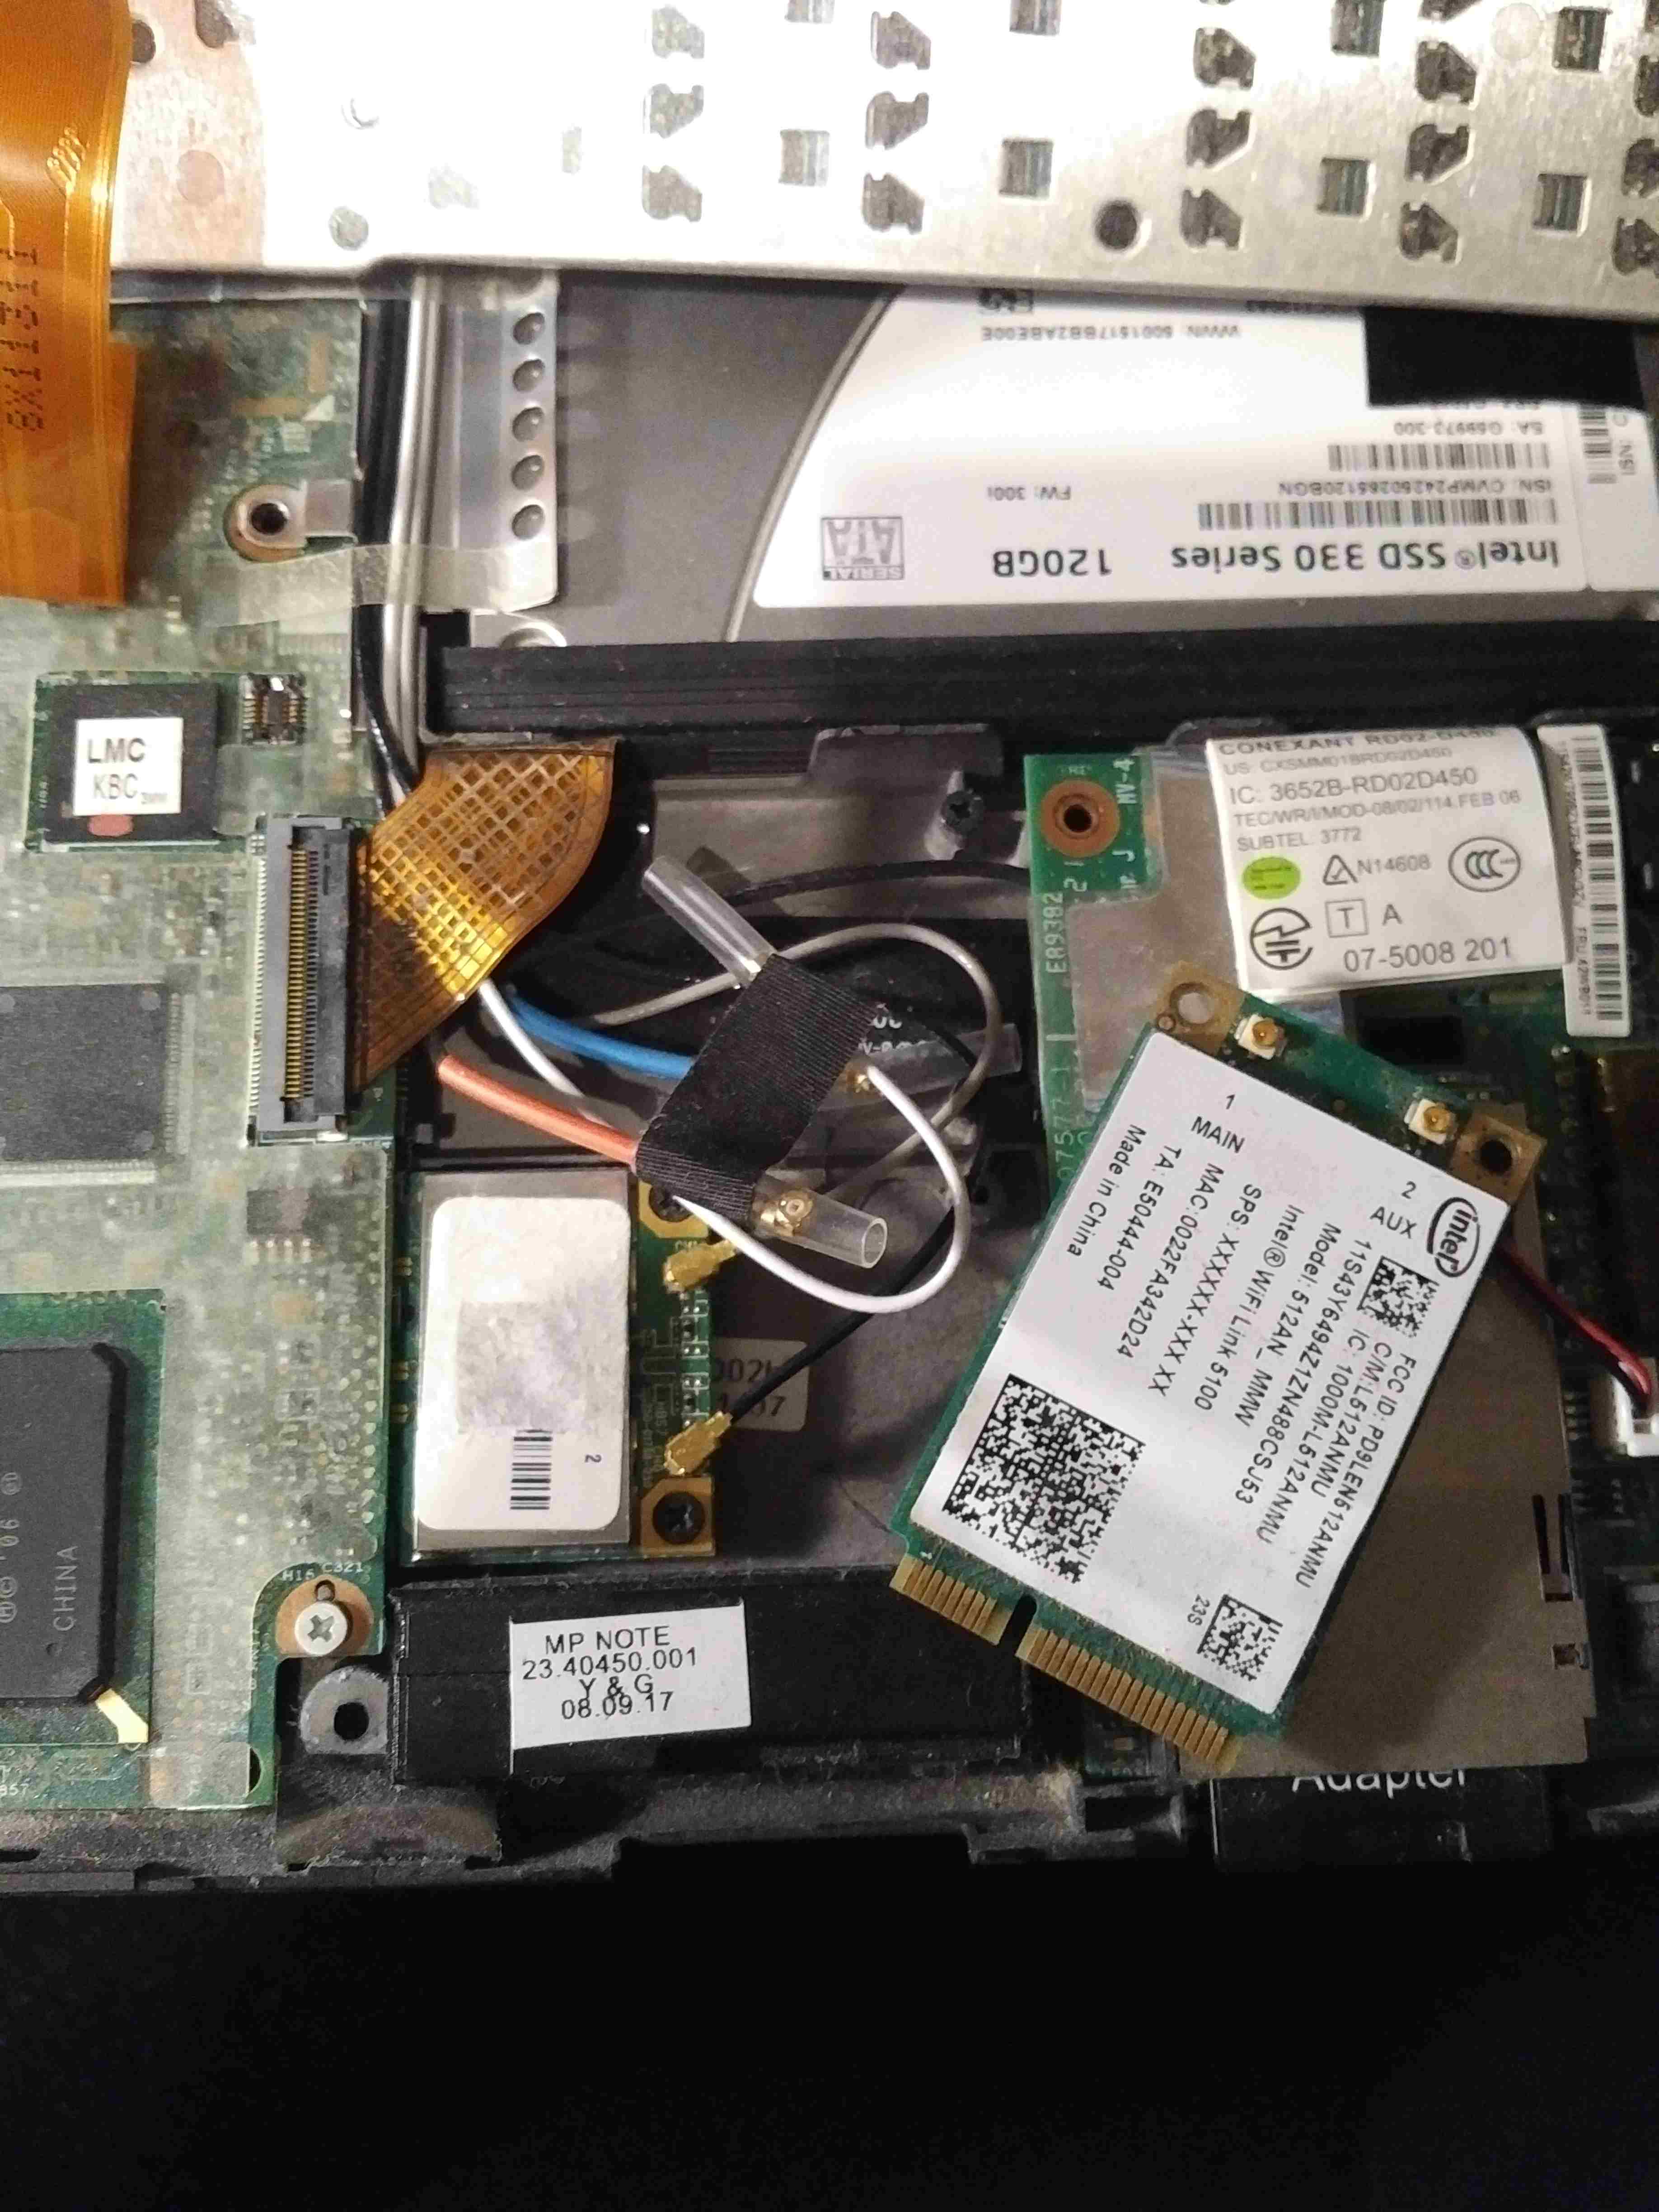
- Don't forget you need a new wifi adapter as x200's come with intel wifi cards that are not supported by free software. Luckily a junk laptop I have had an atheros chip.
- On my first try the clip was not connected properly so it couldn't find a chip - I powered the pi down and reattached the clip, it worked fine. Amazingly my wiring was correct.
- Do not be a fucking idiot, turn the pi off before you attach the clip or when readjusting the clip - and check your wiring with a multimeter.
- Make multiple copies of your factory ROM, ensure their checksums match, ensure the data isn't junk (hexdump -C factory.rom, look for some hard-coded strings or something to ensure it isn't just junk).
- The libreboot docs do not mention how long the process takes. Reading the chip took about 15 minutes each time and about an hour to erase, flash and verify the chip.
- In my case, the pi powered the chip perfectly, I did not require an external power source, but some people do. Your mileage may vary.
- I had some problems with the RTC after librebooting. I had to sync the RTC using: hwclock --hctosys
Now for some pictures of the process:
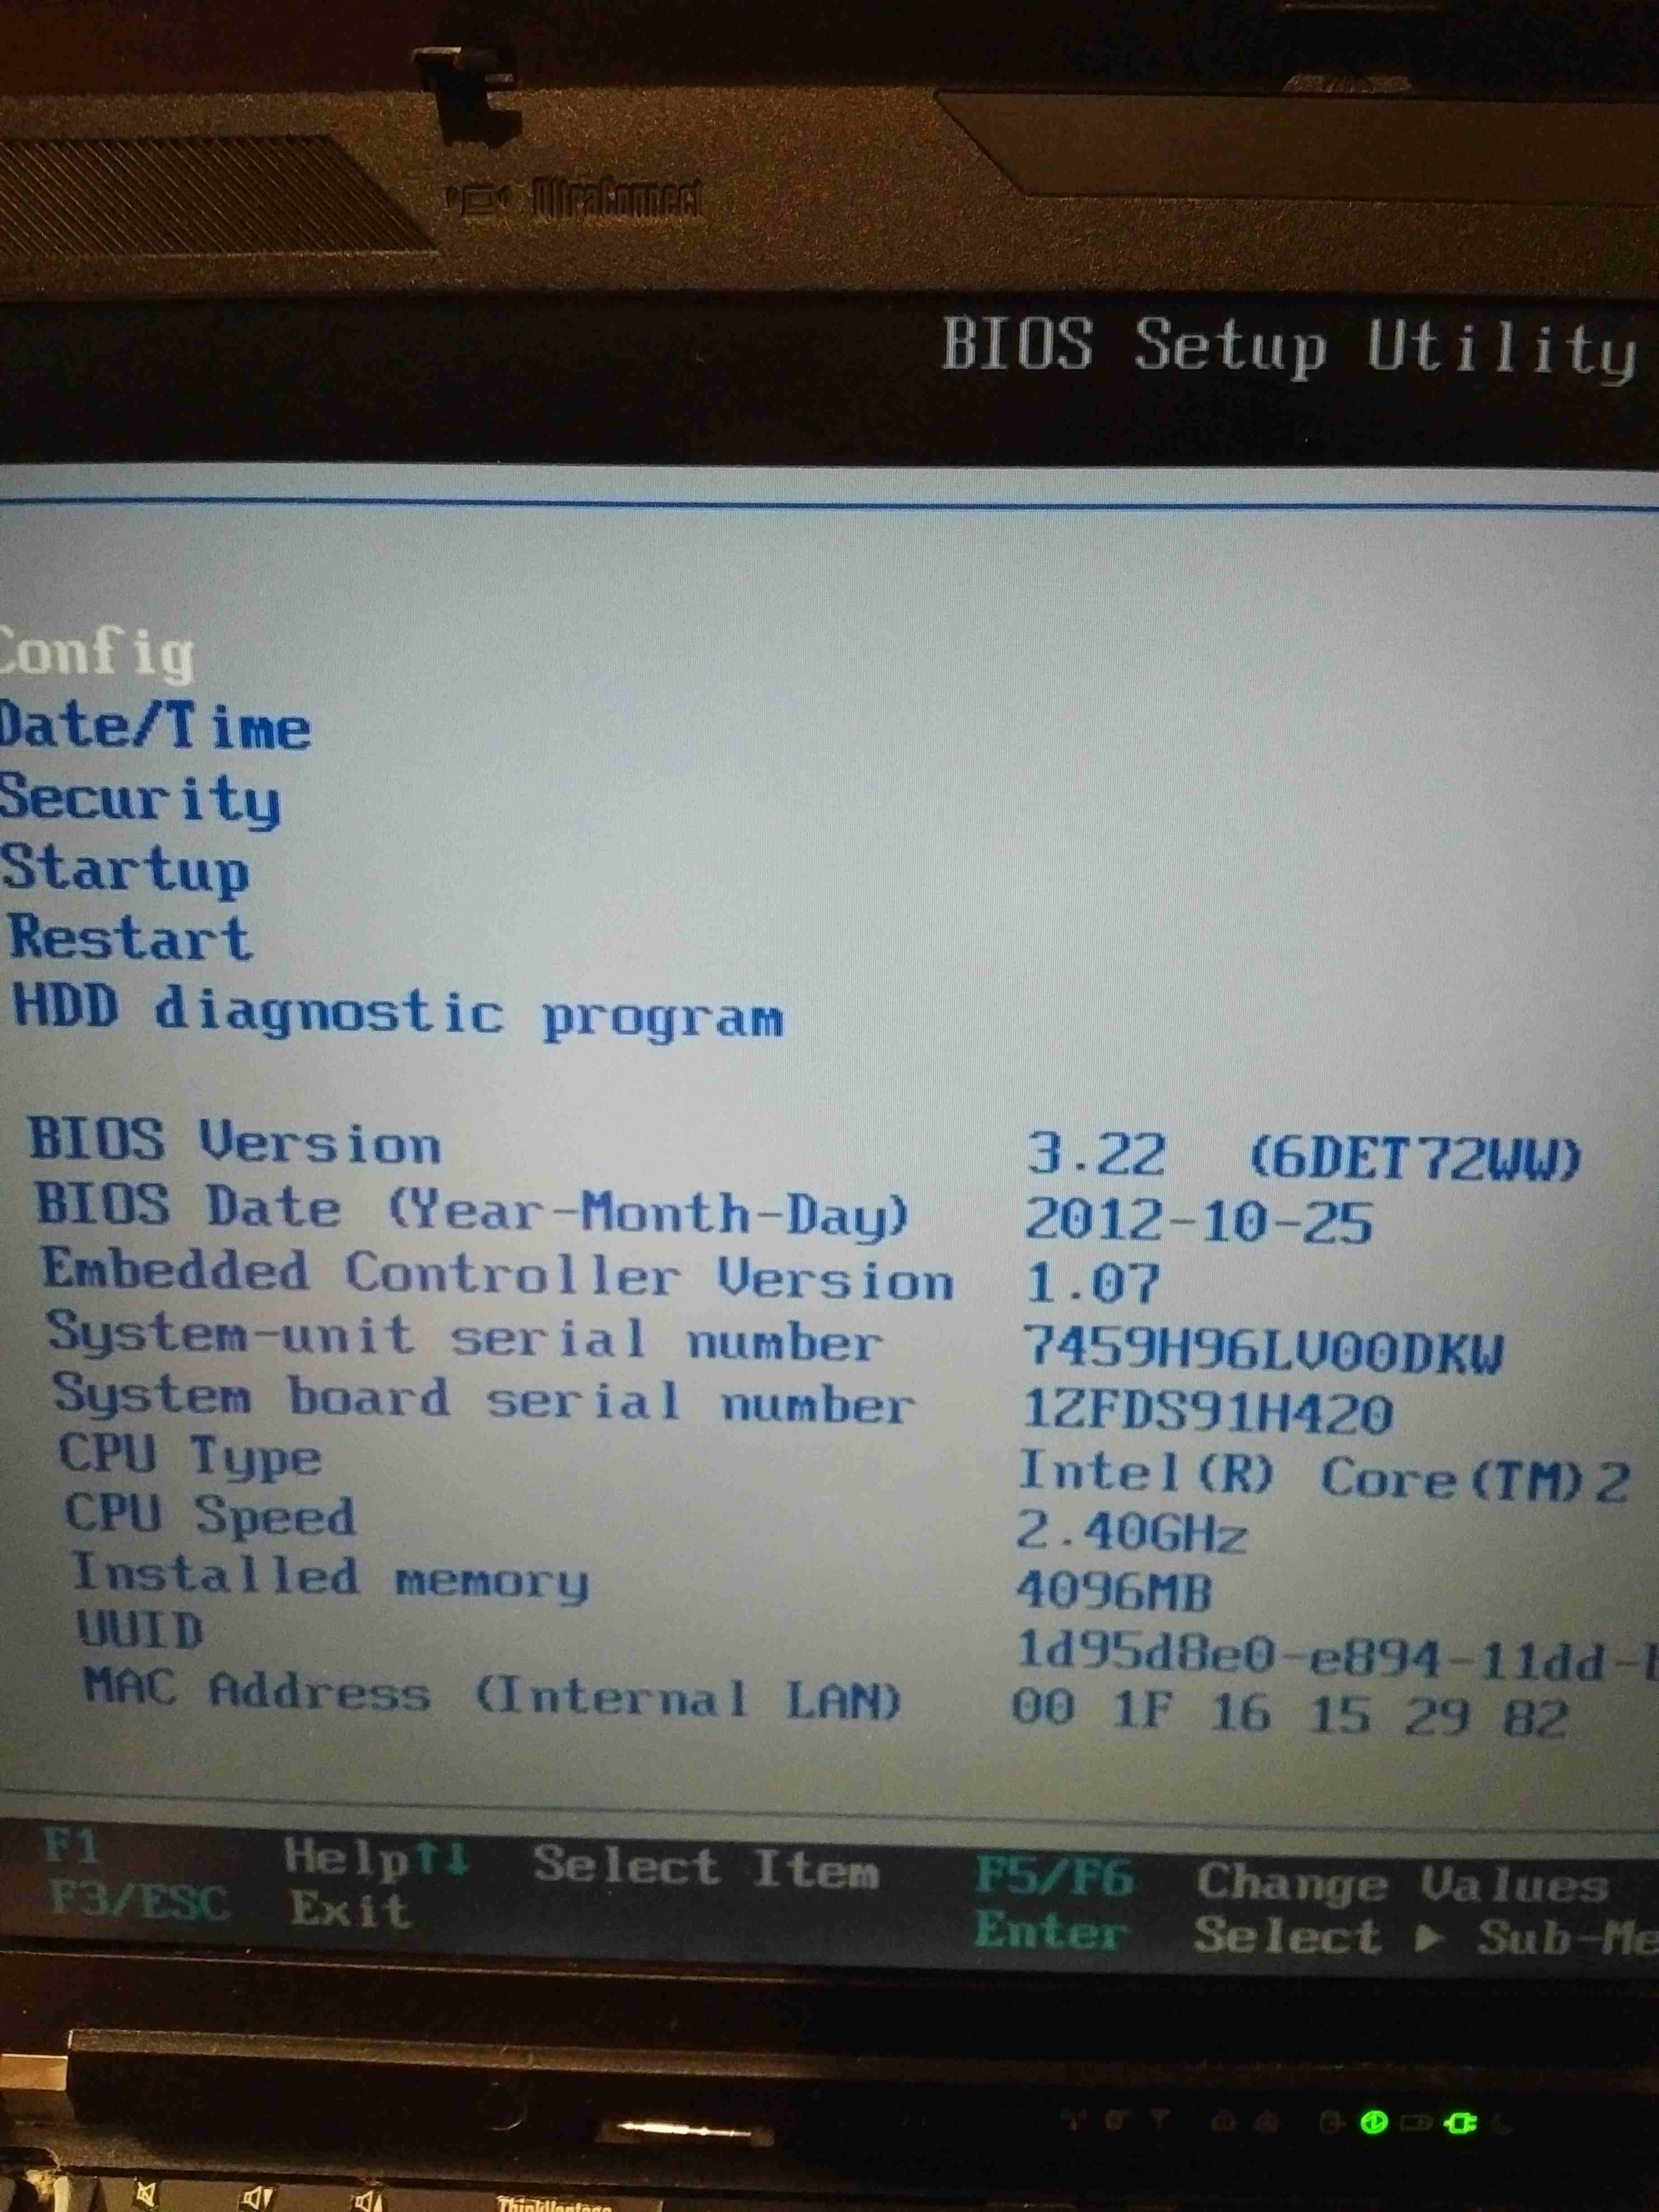
Checked the BIOS and ECC versions are the latest:
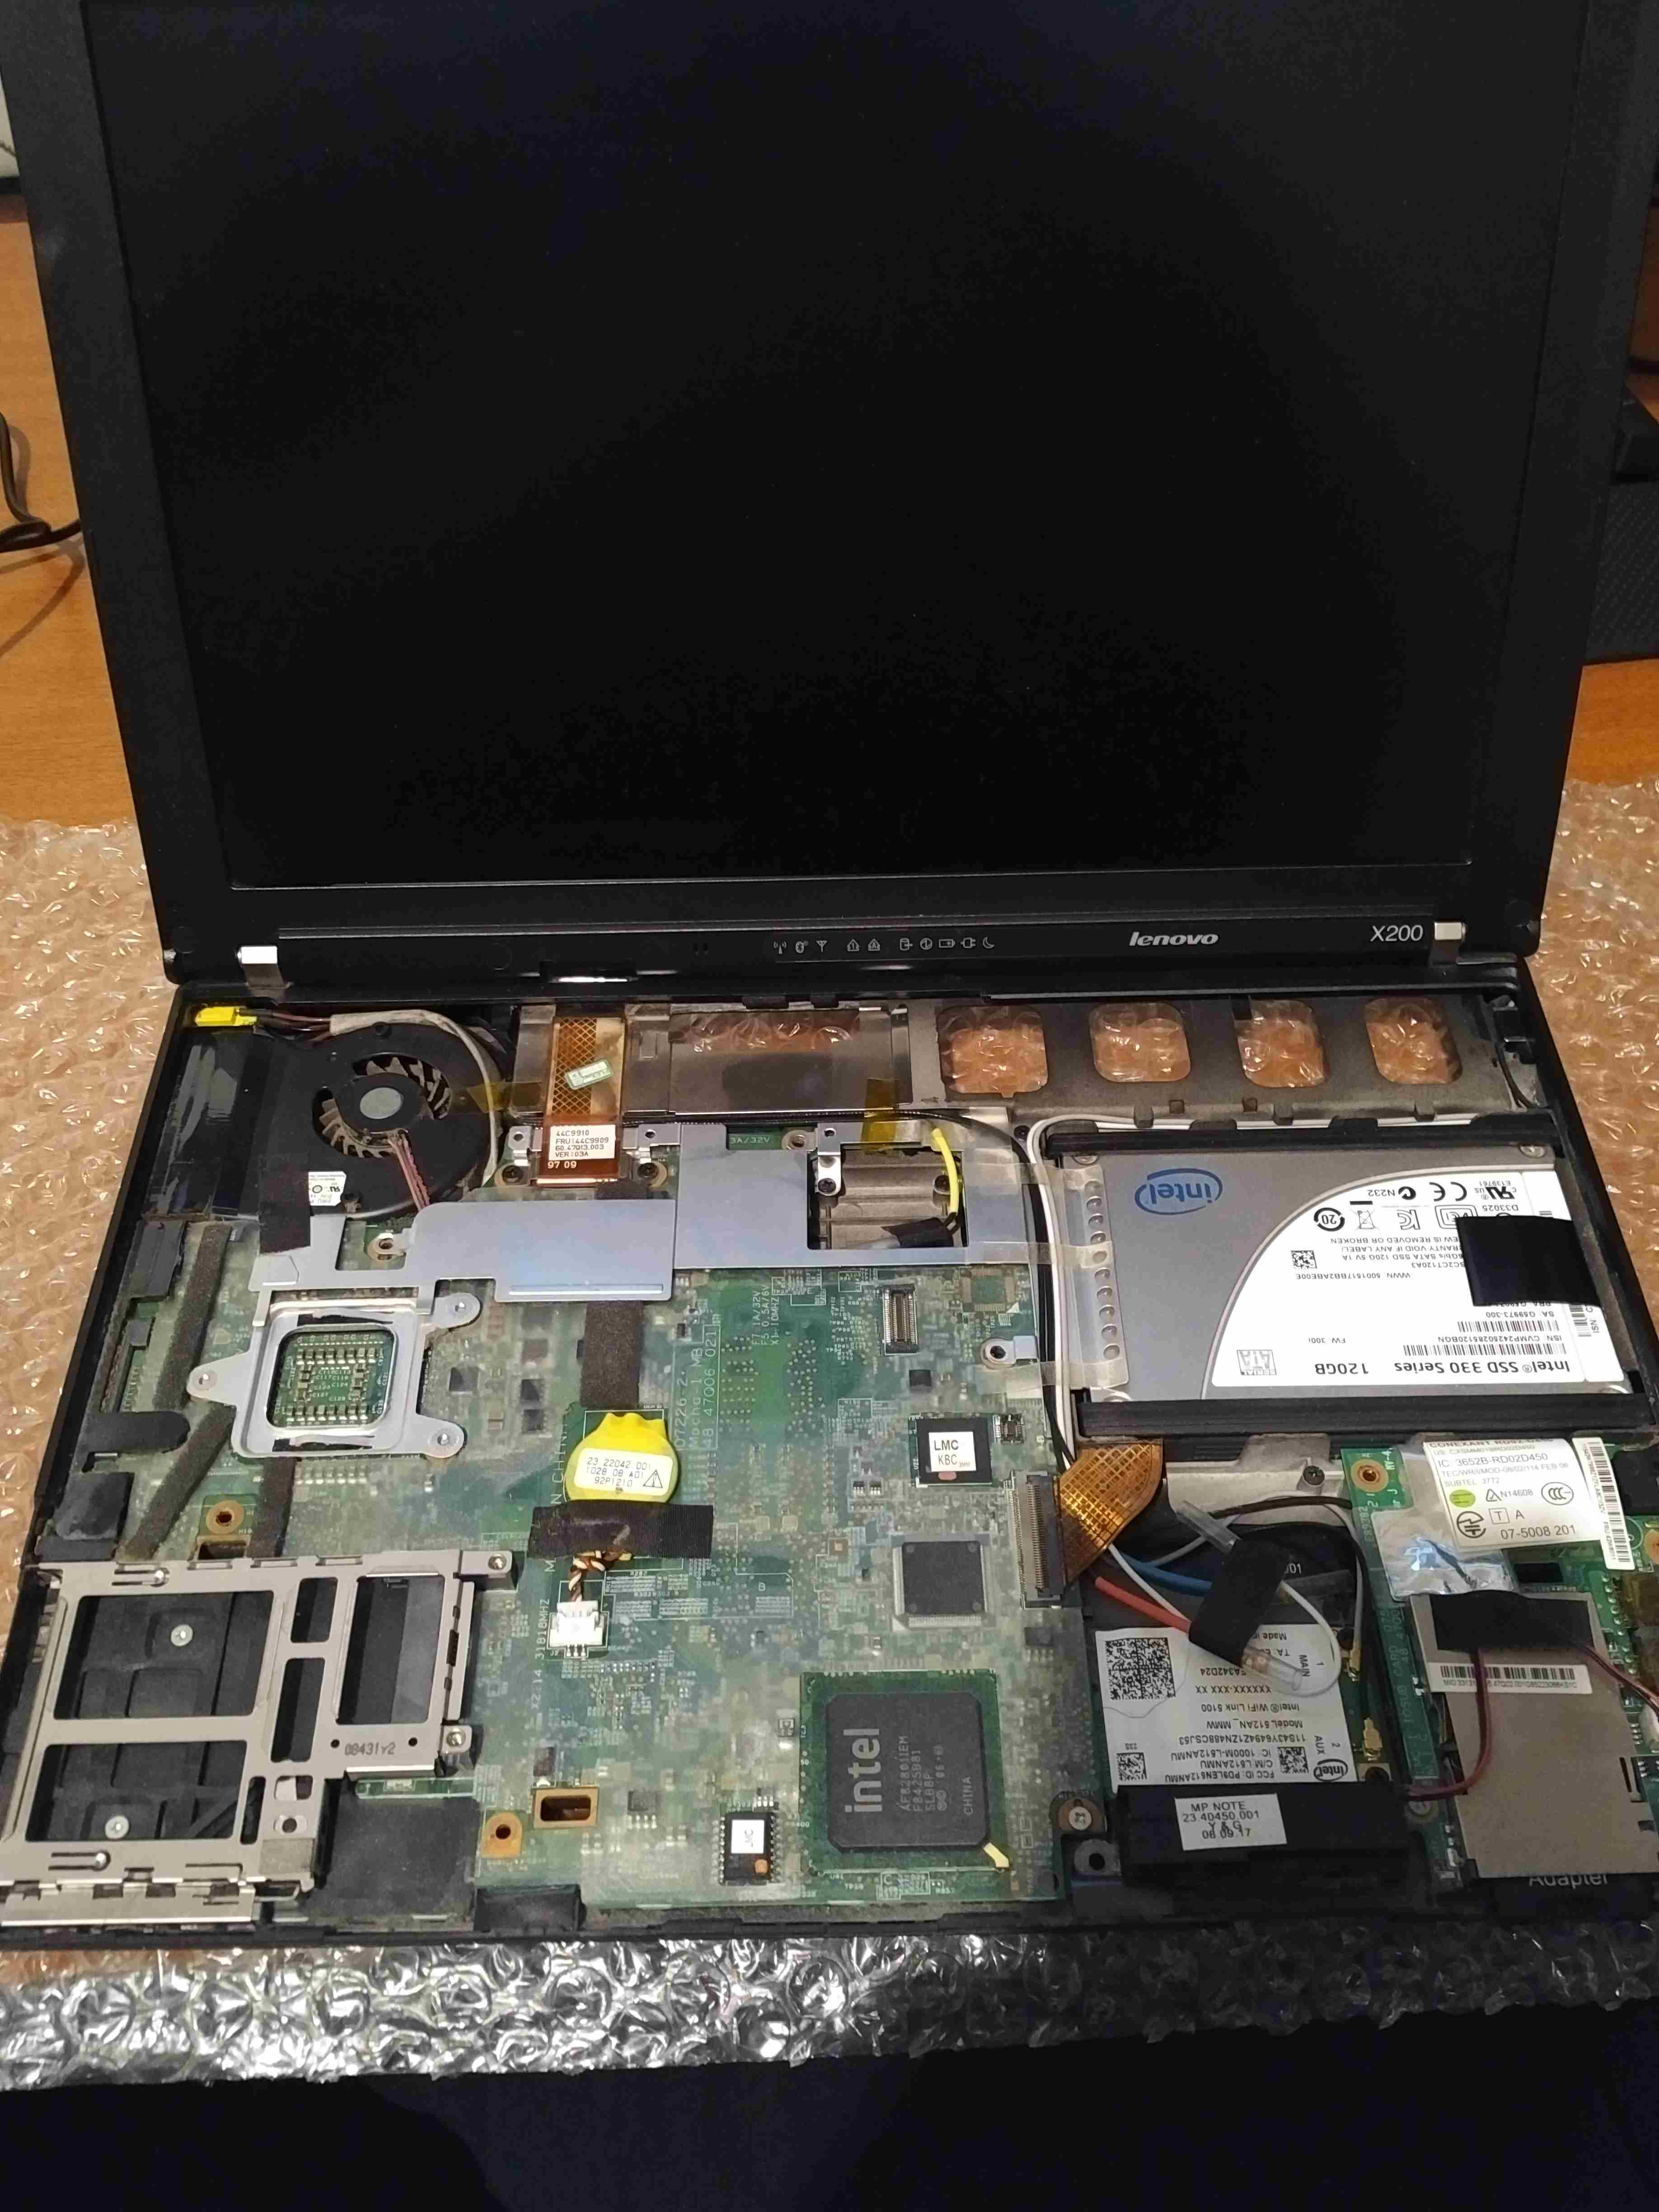
Completed the required laptop disassembly:
Wired up the pi as required:
Put the clip on and connected it to the pi correctly:
Replaced the wifi card:
First boot:
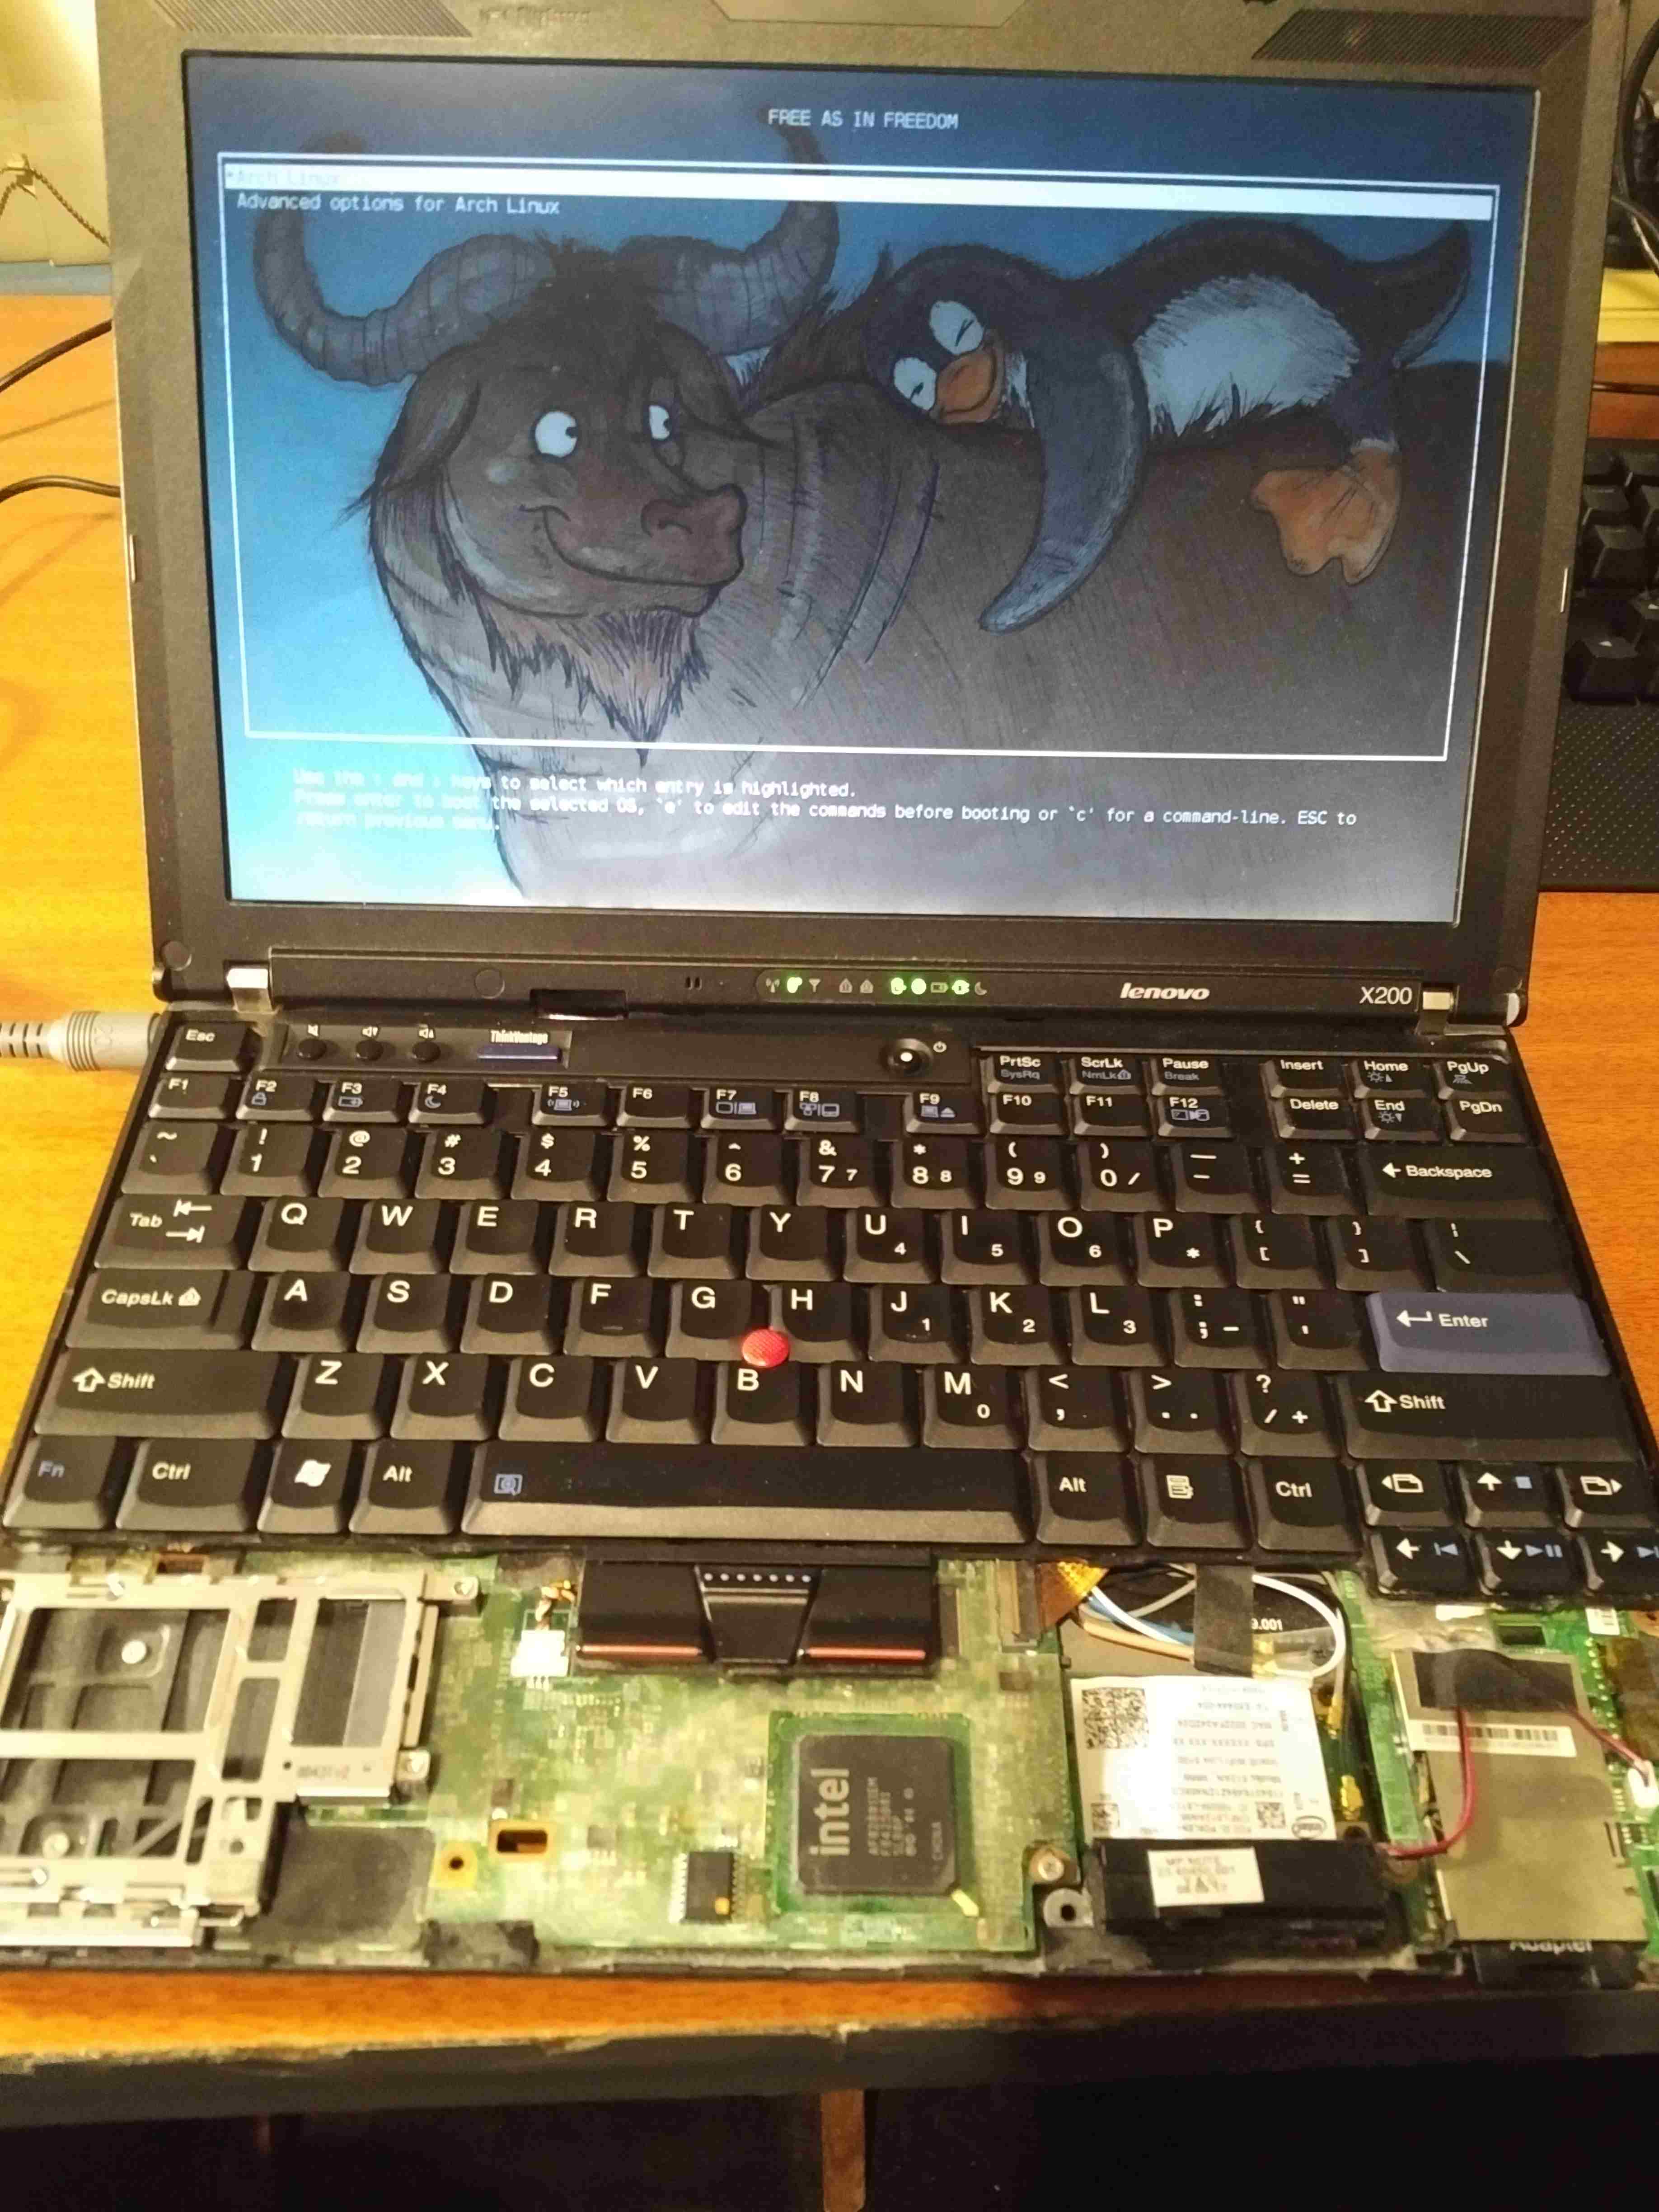
From here, I migrated the Arch install to Parabola and life was free.


Got an x200T and some figures, libreboot tools
20/1/2020
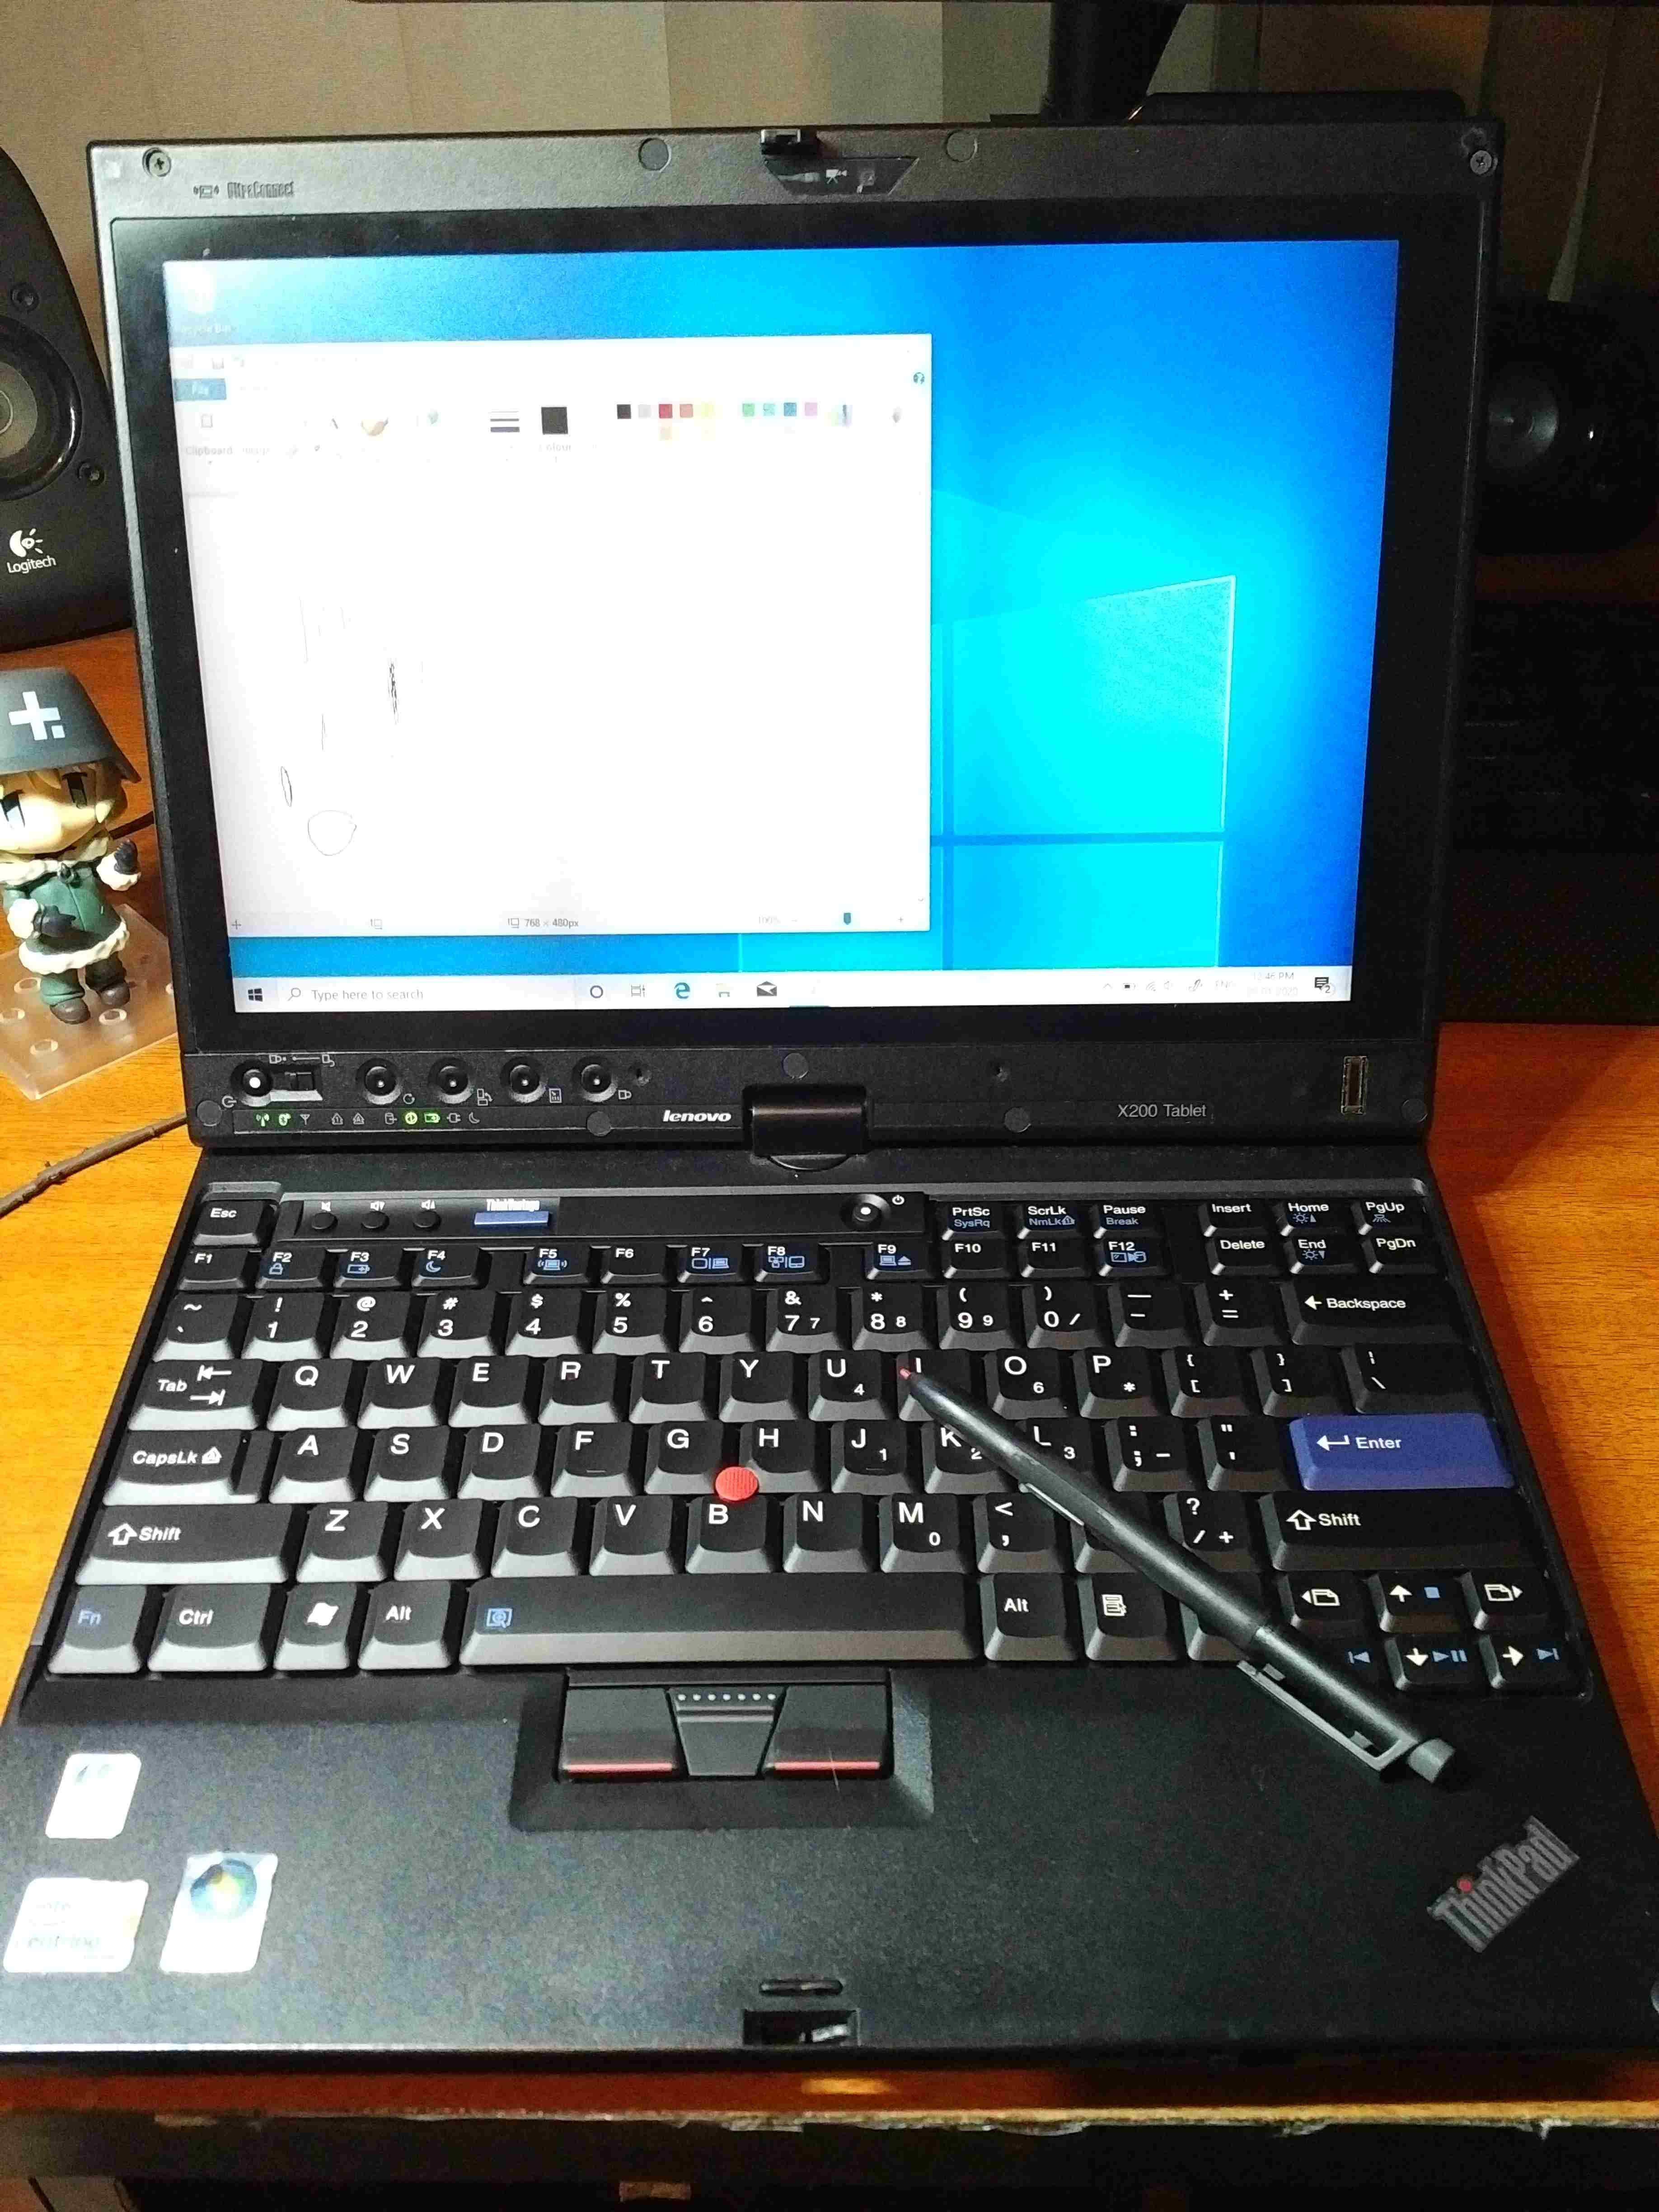
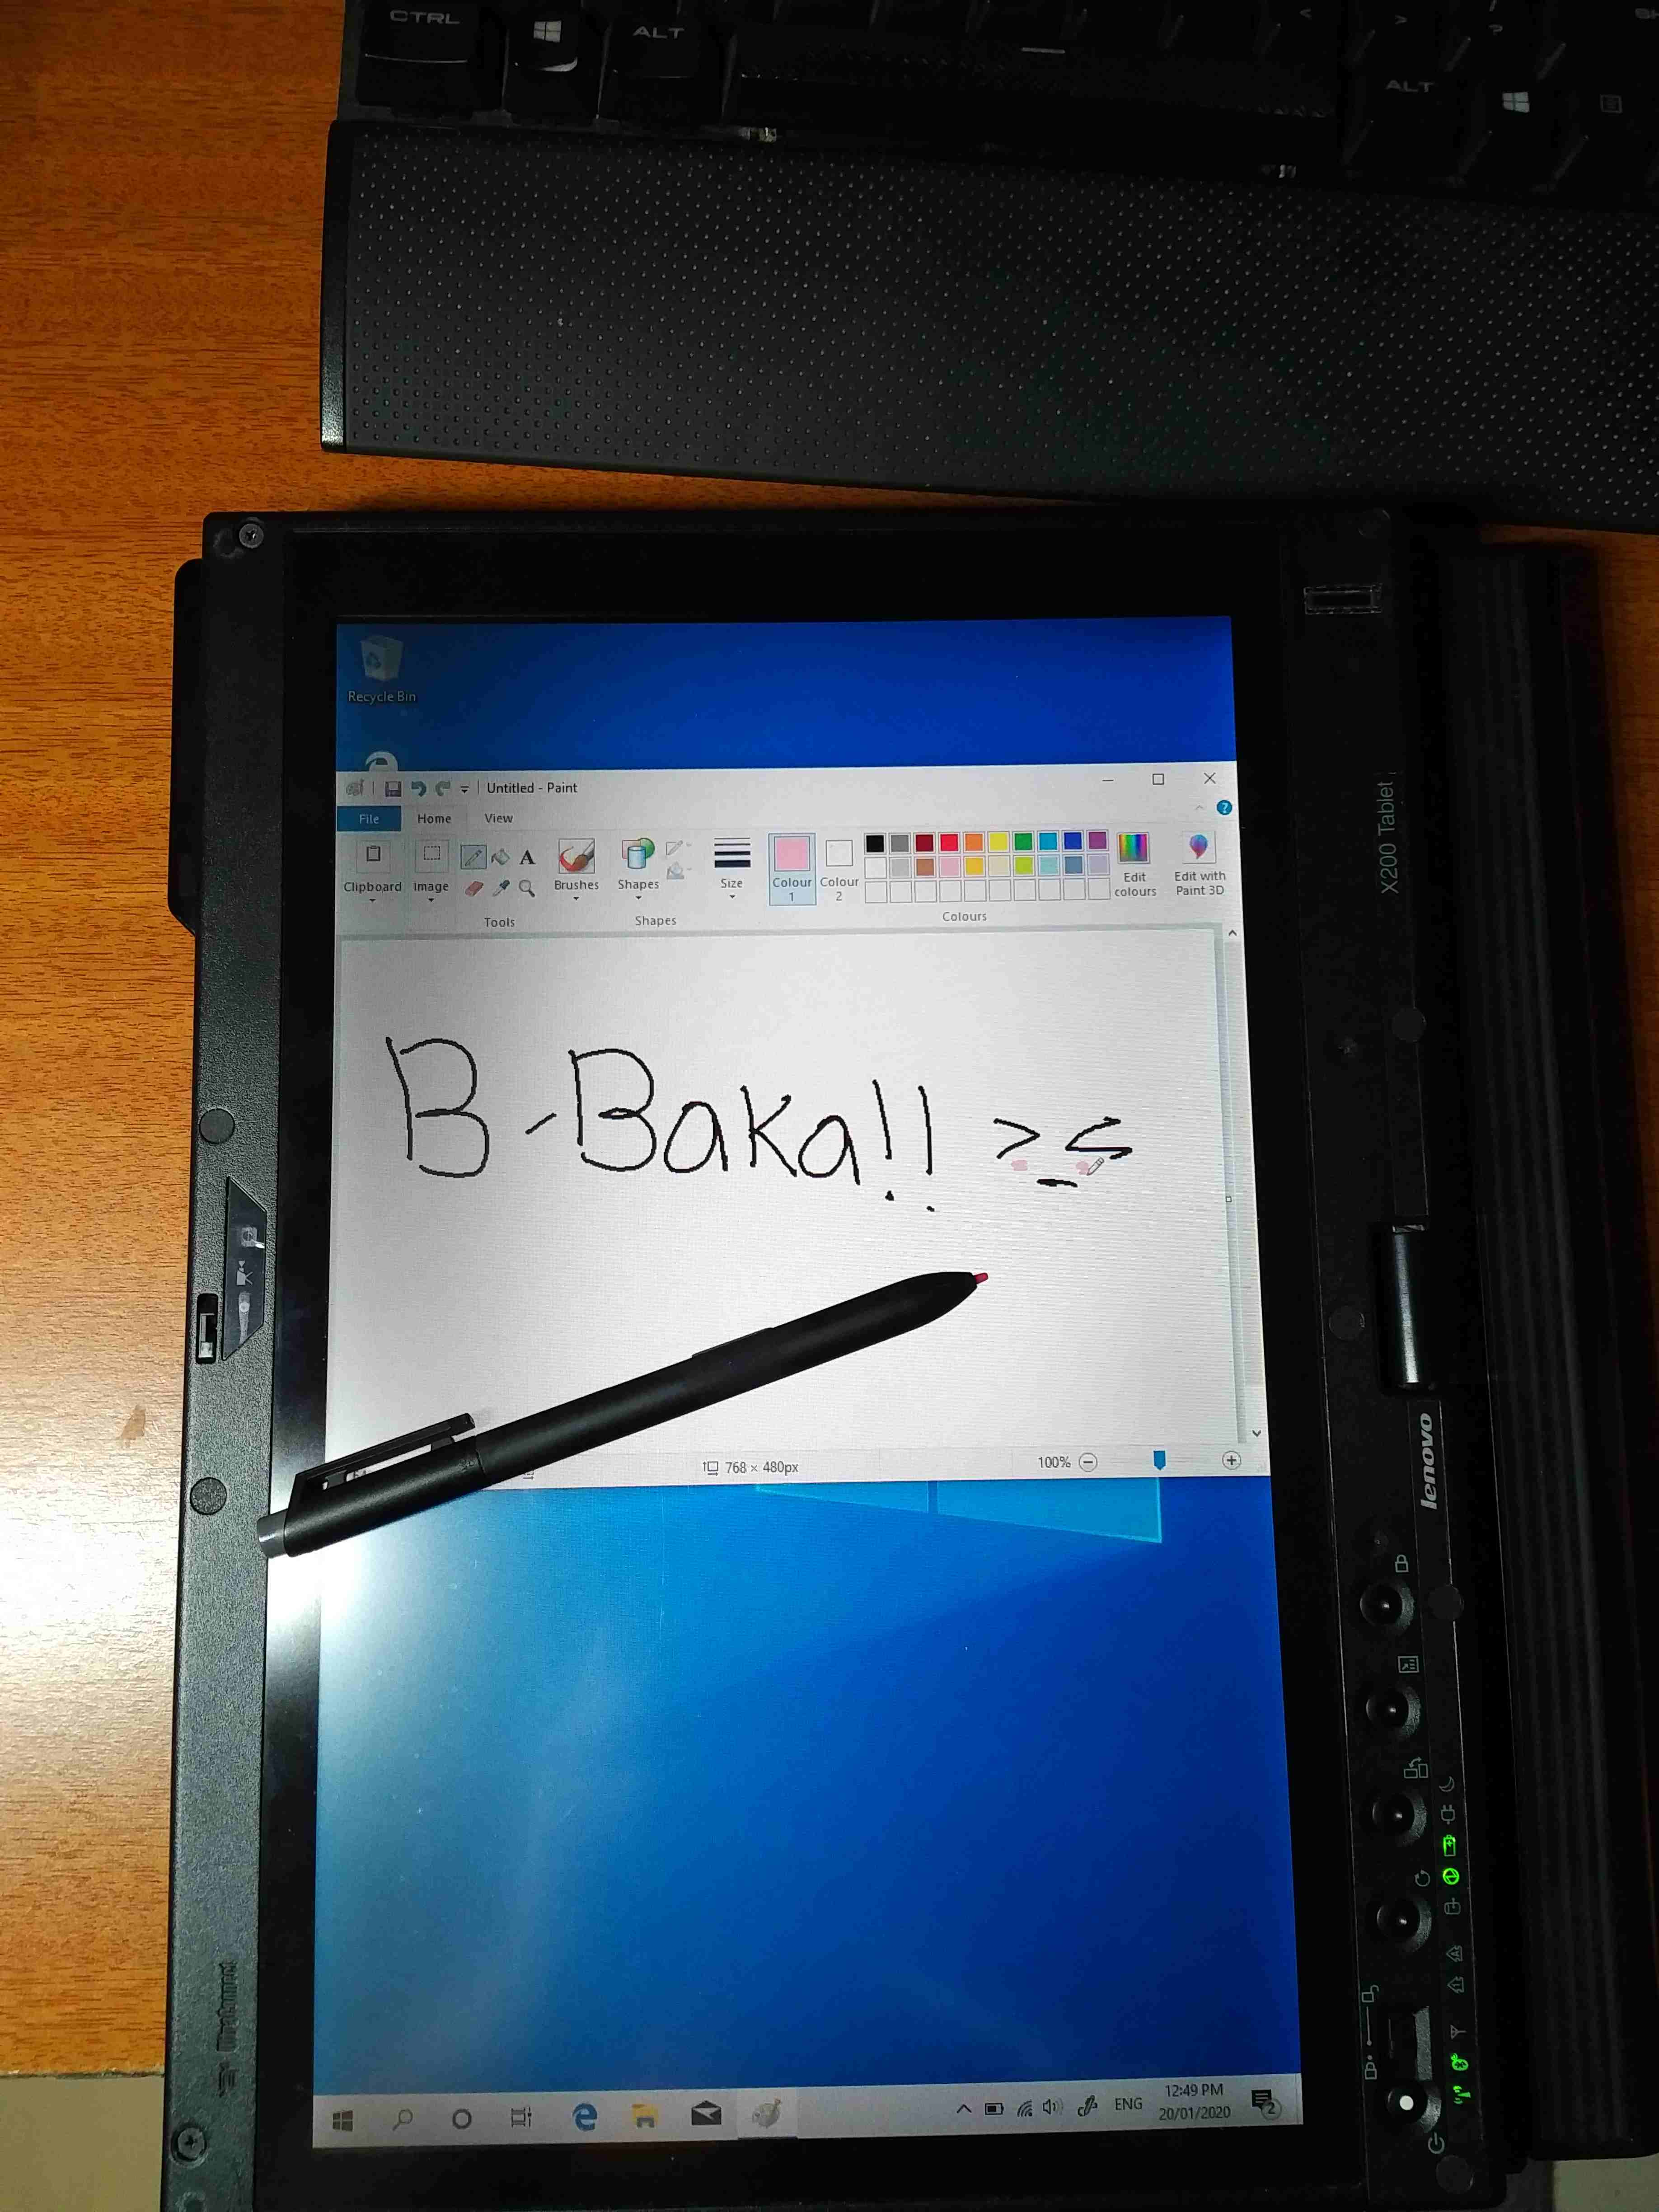
I purchased an x200T for reading manga (and because thinkpads are sexy as fuck). It has 6GB memory and came with a 120GB SanDisk SSD. The keyboard is a shitty replacement, which is unfortunate. Original charger, new (probably shitty) battery, pen (needed a good clean with IPA, it was very sticky and gross) and nice conditioned lid. I don't intend to libreboot this one anytime soon, though.
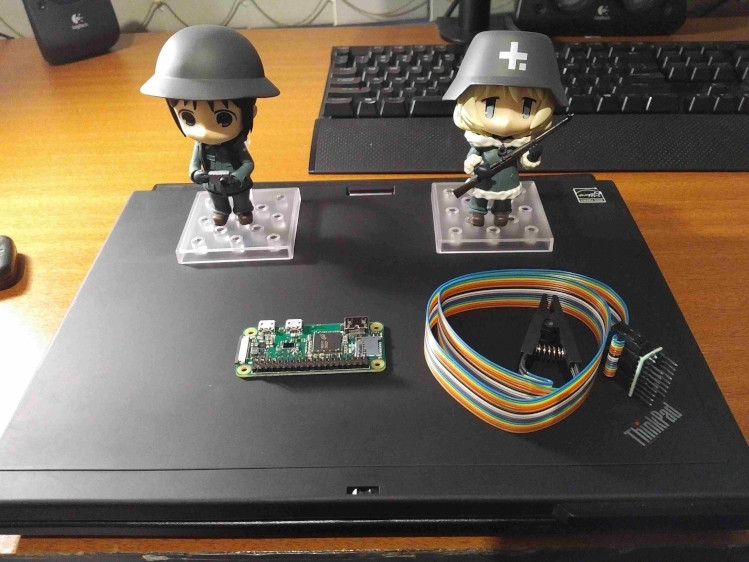
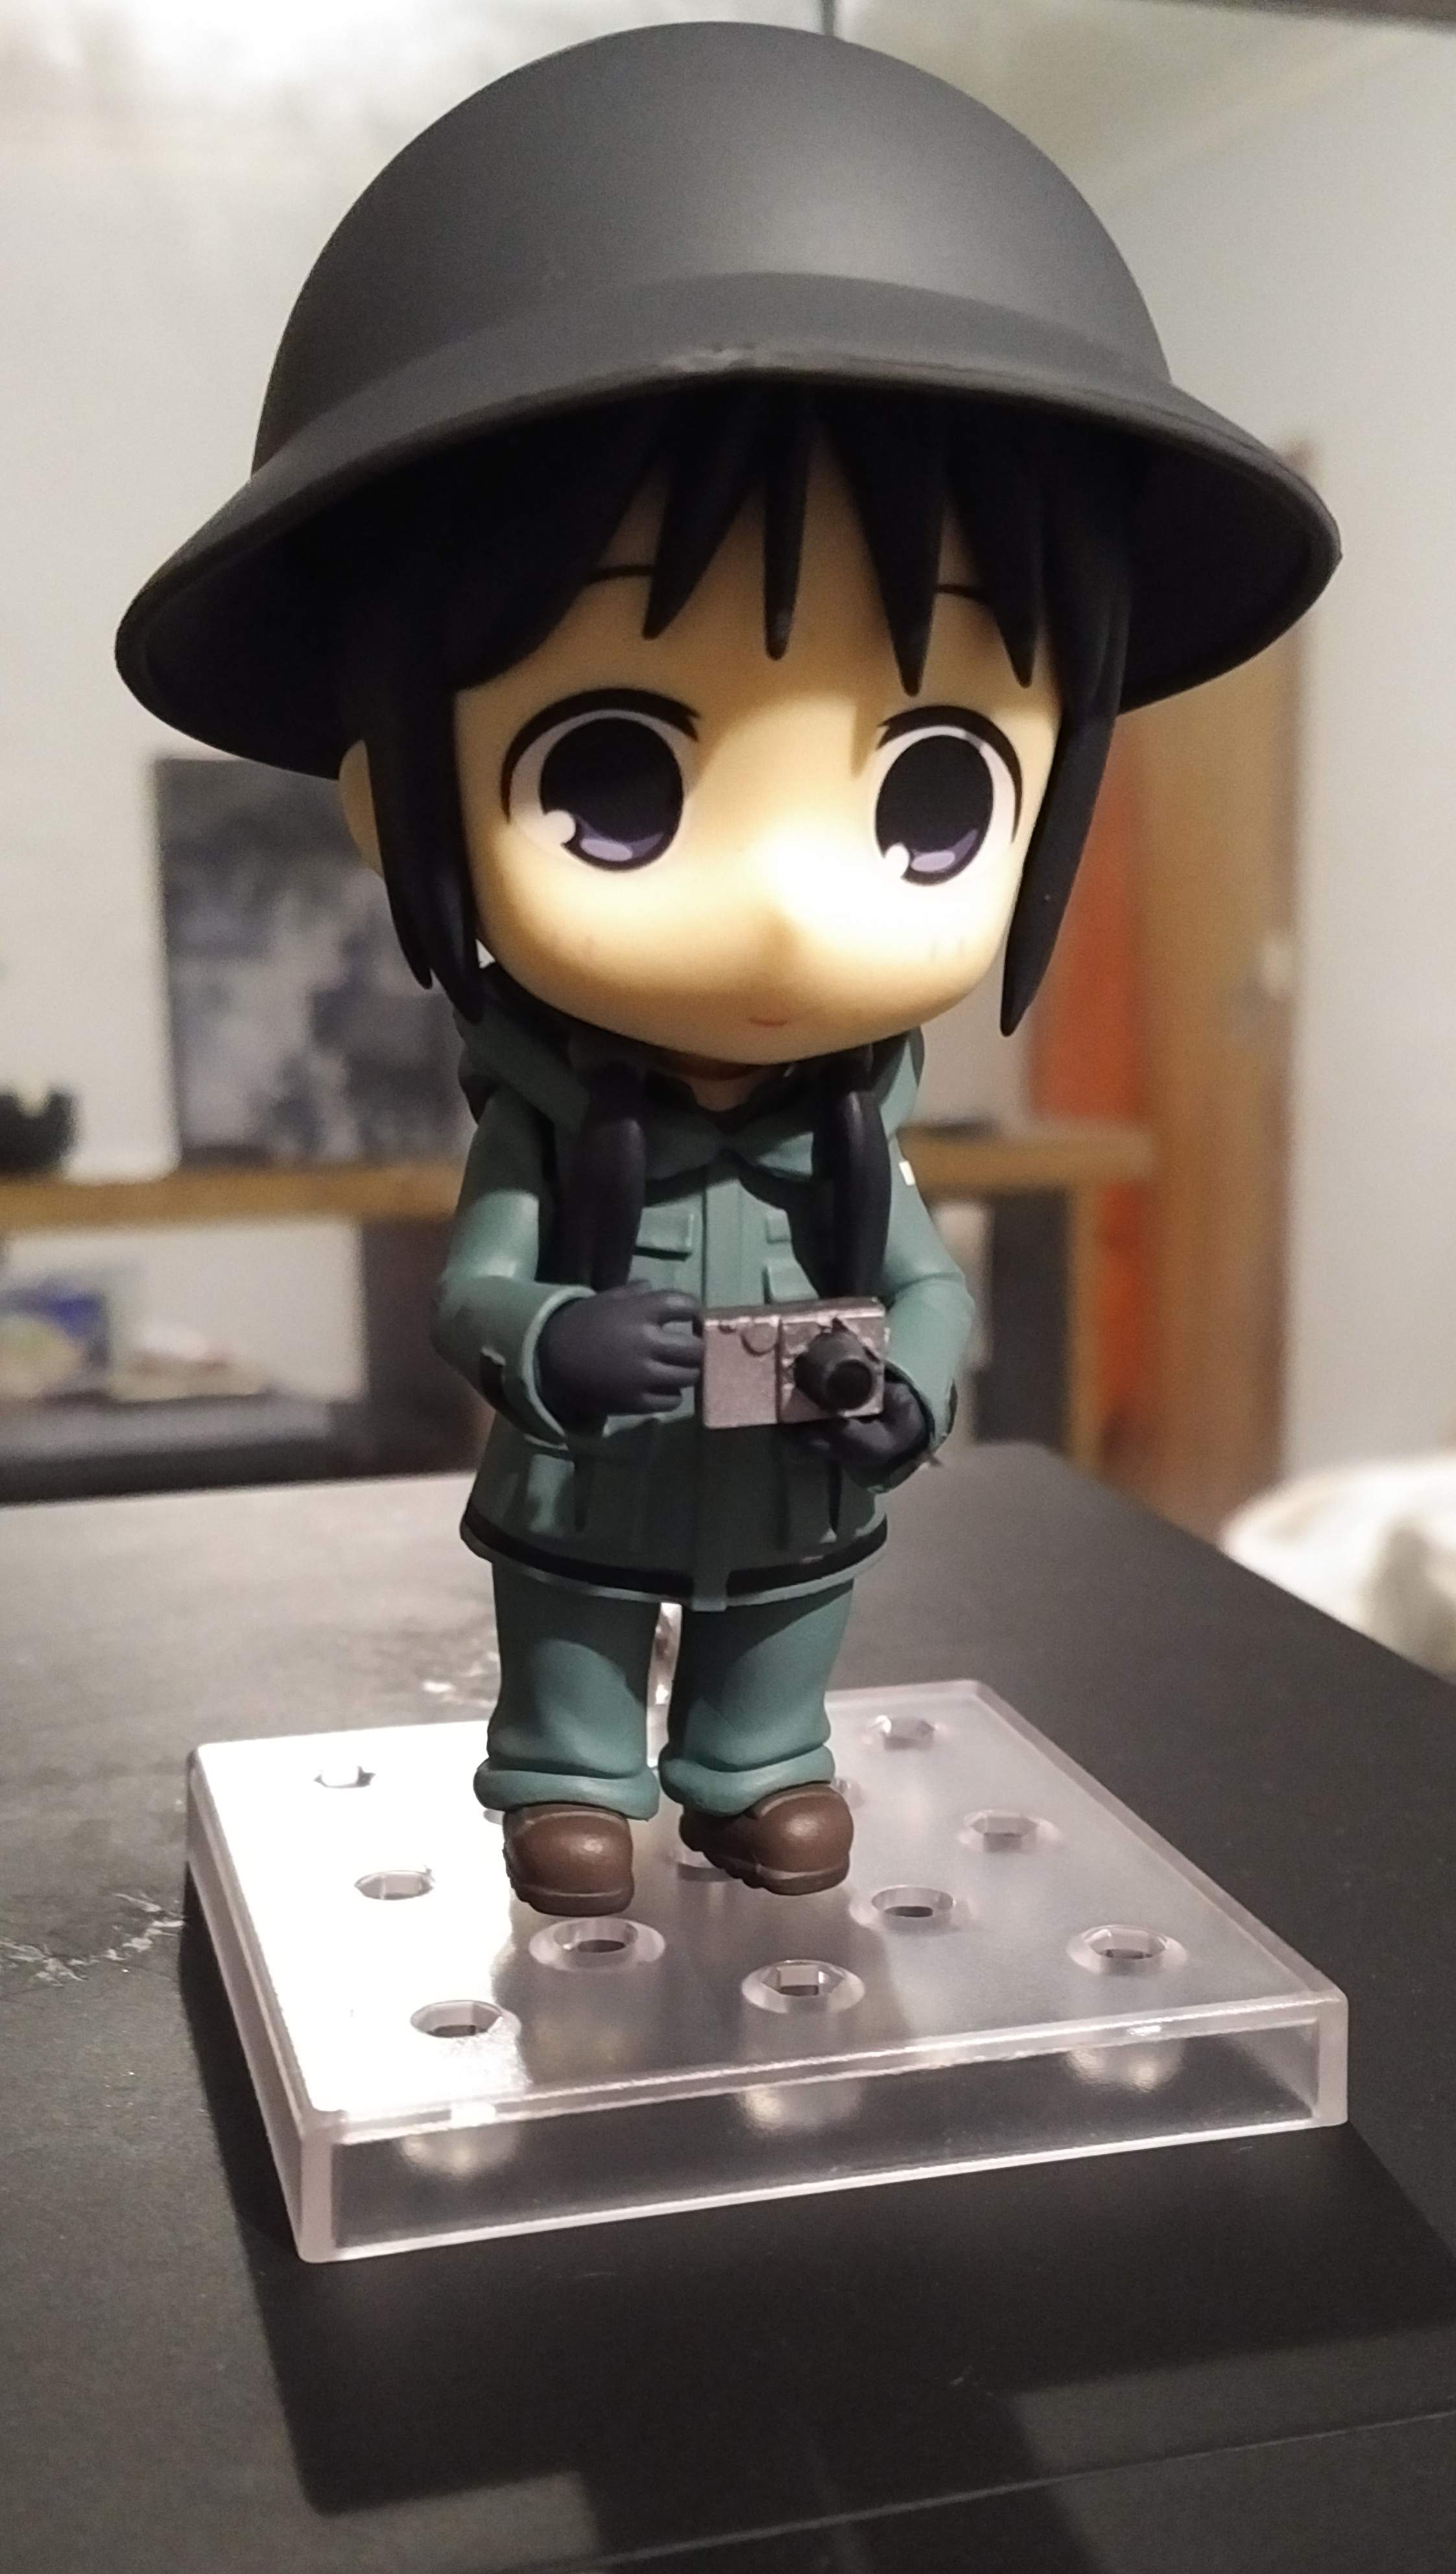
I also purchased 2 Girl's Last Tour Nendroids and the Girl's Last Tour premium boxset.
I've also purchased a raspberry pi zero w and a soic-16 clip for librebooting my x200. I had 3 pi's but they are all dead, so I needed a new one. I could have used my bluepill devboard, however that looked harder as there were no tutorials on using it.
I did also buy a ch341a USB programmer to use as a librebooting tool, however its voltages are completely wrong.




website generator RSS support
12/1/2020
I added RSS support to the website generator. This blogs RSS stream can be found here.
The source code can be found in my git repo.


website generator re-written in C
6/1/2020
For the last week or so I have been re-writing my static website genertor in C (again), but this time I finished it. This website is now generated using it.
The source code can be found in my git repo.


